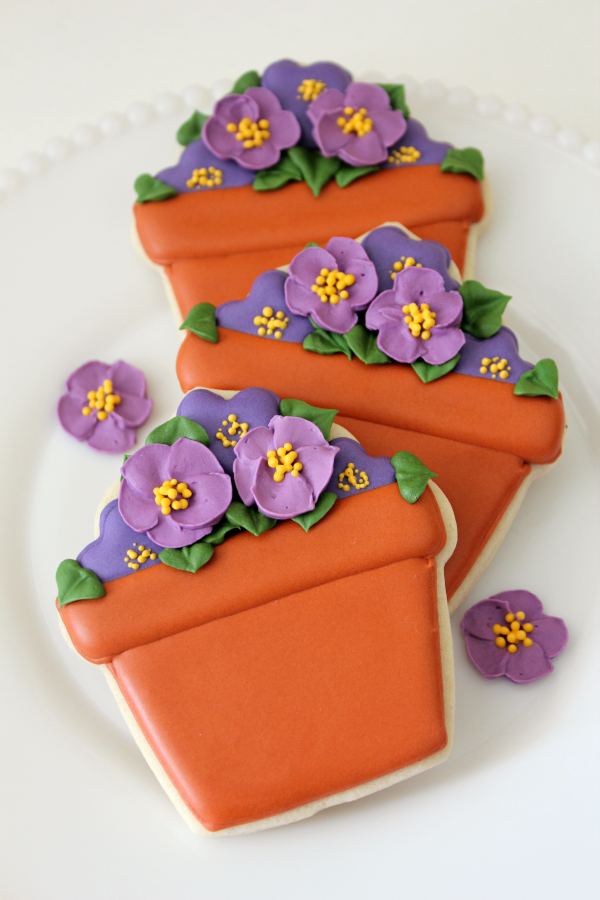
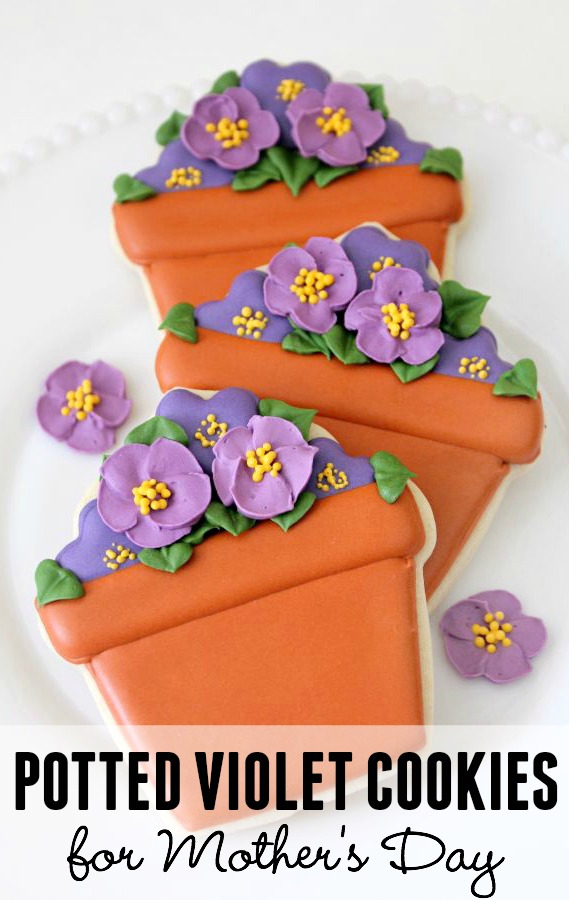
Pretty Potted Violet Cookies
I love violets because they remind me of my Mamaw who has always been partial to them. She has them growing all over her house. While I didn’t inherent her green thumb, I can definitely do violets my way!
 These potted violet cookies began as a cupcake cutter, although I cannot take credit for the idea. Bea of Cancun Cookies had the same one long ago. To see her version click here.
 To make these cookies you will need:
- Terracotta piping and flood icing {mix tulip red, warm brown, and egg yolk yellow}
- Violet piping and flood icing
- Stiff purple icing in a lighter shade and a #103 tip
- #7 flower nail and wax paper squares
- Yellow piping icing
- Stiff green icing and a #66 tip
Begin by outlining and flooding the pot. Fill the lip and let dry for 20 or 30 minutes.
 Next use a #2 tip to add flowers. Fill the flowers and then the bottom portion of the pot. At this point it’s good to let the cookies dry completely.
 Making accent flowers is a great way to pass drying time. These flowers are a hybrid apple blossom-violet thingy that I made up, which is code for “I didn’t know what I was doing so I did the best I could”. At midnight I decided to learn to make them…and I did. Sort of.
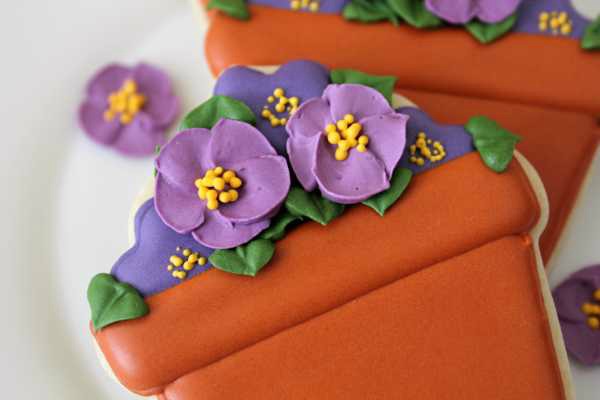
After a little looksie at the Wilton tutorial, I had a basic idea of what to do, but since I didn’t want to wait on the nifty little pre-made stickers I had to wing it. If you look closely, you can see a faint pencil outline of a five point star on the flower nail. I drew it there to help me make five even sections with a Sharpie. I still ordered the neat stickers, but this worked alright in a pinch.
 The tutorial said to use a #101 tip, so of course I used a #103…my thought was bigger tip, bigger flower, but who knows, I might have made that up. In any case, don’t give up right away if you’re having a hard time. It just takes practice. If the Wilton tutorial isn’t doing it for ya, I recommend picking up Autumn Carpenter’s book, The Complete Photo Guide to Cake Decorating. It’s full of helpful hints and it has LOTS of pictures, which I LIKE.
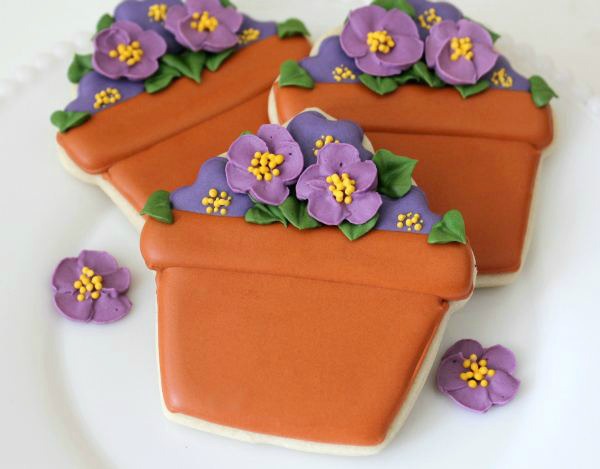
 Anyway, make flowers and use a #1.5 tip to add middles. Let them dry. The next day, you’ll have this {and possibly a HUGE mess} but you’ll be ready to finish up your violet cookies.
 Use a #1.5 tip to add centers to the cookie violets and a #66 to pipe filler leaves.
 Give the cookies a bit more time to dry, then use green piping icing to attach the violets you made. Its a good idea to lay them out to see where you want them to be.
 Finally fill in the bare spaces with leaves and let dry.
 Tada! Pretty potted violets in cookie form! For the record, there IS a tutorial for royal icing violets…but I didn’t figure it out until after I made a gazillion purple apple blossoms. I decided to let it go and use these. Please don’t hate me.
 Not quite the real deal, but since I know my sweet tooth was inherited from my Mamaw, I’m pretty sure these will make her just as happy!
 If you like potted violet cookies, you should definitely check out these other ideas:
- Potted violet cookies from Cancun Cookies
- Potted Flower Cookies With a Snowman Cutter
- 3-D Potted Flower Cookies for Bakerella
- Let’s Smell the Flowers Virtual Cookie Party
Have a great week my cookie friends!


You are an artist!
They look so beautiful!! I can’t stop looking at them!!! <3
Oh wow! These are so pretty!
What a great idea! I love the violets on top because it give such dimension! I love this and will be making them for Mother’s Day! Thanks for sharing!
this is a beautiful cookie!! I love the idea and with the cupcake cutter at that. Amazing work!
Wow – beautiful! The terra cotta color is spot on!
These are so adorable!
Awesome!!
SO gorgeous! I actually think I might try this for my kiddo’s teacher!
Thank you so much for this idea! I am SO going to make these!!!
What a great idea!! I really need to try making flowers – kind of intimidating!
It’s not as hard as I’ve always made it, but I saw the easy rating on the Wilton site and thought either these ladies are veteran cake decorators or I’m impaired but it’s not exactly what I would rate as easy, lol!
Callye,
I needed this today…perfect!!
Wow! I love the 3-dimensional look u give to the cookies by adding the extra piped flowers! I’ve been wanting to branch out and try to use tips other than the basic and now I think flowers would be a good way to give that a try. How long can u save the xtra piped flowers?
As always, you inspire me – beautiful cookies, amazing ideas and generous tutorials! I just have to say – thanks so much for sharing again!
Apple Blossoms – African violets – same thing! I made both of these in the Wilton course and there is not much difference. Now – if only I had a cupcake cutter! I’ve made plenty of cupcake cookies but using a paper template. I really have to get me one of those cutters!!
Lol, the only difference is two shorter {or is it longer} petals, lol, right?!
Beautiful. I don’t know if they are the real deal or not……they look fabulous to me. ????
I LOVE these cookies! Perfect!
… Sigh … I just LOVE these.
Stunning as always!!! Can’t wait to try this!!
Maybe, a large failmy ! But they have no more place for one more failmy member : ) At least, B&W shows that every one in that failmy will get clean laundry.Very funny picture, Robin. I love when it shows odd day-to-day things.
Mamaw would love these!!!
Sending them to her 🙂
I LOVE these potted violets so much! The 3-D effect is fantastic! No apologies needed, that’s for sure:) Your mamaw is going to adore them! I appreciate the tutorial because I want to try this for Mother’s Day.
What color green did you use on these beautiful pots of flowers? I need a different green in my collection… Thanks!
Incredibly cute cookies!!
Adorable!
Love your Violets, SSB! I’ve never tried piping flowers… looks intimidating! Thanks for the link, xo
Love it! Great job chica!
So beatiful!!!!!
so beatiful!!!!
I think they look great, so want to try making icing decorations soon.
So beautiful! Your cookies are always amazing little works of art! 🙂
Beautiful, as always!!!
Pretty! I love the depth and dimension you’re creating with the piped and “transfer” violets!
I am always running around and don’t leave comments as often as I should, but I wanted to thank you for taking the time- which I know from personal experience that is a lot- and always posting a tutorial for your readers. This blog is like a book, with incredible resources and inspiration. I have learned so much form you.
Thank you
So pretty!! I’m so glad I have a cutter I can use for these, because I will have to give them a try soon! These would be perfect for Mother’s Day!
I just love these cookies. I love reading your blog and getting new ideas from you. I think this is going to have to be put on my must try list 🙂
you’re amazing!! thanks for sharing
All kinds of love. I *************love*************** these!
Wow…you did it again…fabulous job. I saw that you had made the violet flowers last week…I was wondering when we would see them applied to a cookie…Cant wait to try this.
These are so beautiful Callye! I love the look of the two different violets together, it adds so much dimension!
so cute!!
Gorgeous Callye. Your *clay* pots are the perfect colour and your violets are adorable.
So very simple, yet so beautiful!
My Nana always had a violet in her kitchen window shelf. It was always a shade of purple. I love these!!
You stumped me on Instagram. I thought for sure you used the ice cream cone cutter again. Your creative use of cutters is so amazing. There just aren’t enough adjectives to describe how special you are.
These are BEAUTIFUL Callye!! I just love all the dimension you got on them! And…I checked out that violet tutorial and umm….I like your flowers better. Just saying. Wilton has got nothing on you.
These are so adorable, such a great idea to use the cupcake cutter 🙂
I love these flowers – especially in cookie form. Your cookie form!!! 🙂
These are so pretty! Thanks for starting my day right off right yet again. 🙂
they are SO lovely!!!
GAH! You just blow me away with you fantastic ideas!! These are brilliant!! Come make me some? 😉
Gosh these are so beautiful Callye! They would have been perfect for the purple cookies that I made last night. You always make me wish I was a royal icing gal!
I want to send a little package of these to my grandma…violets always remind me of her. Very, very pretty cookies, Callye.
Hi Callye, I’m a big fan that’s been lurking around for sometime. Gosh, that sounds a little scary…. I loved your pictorials, always big, beautiful and clear. This post is another one that inspired me to create. In addition, I think you have a great sense of humour that just radiates from each post.
These are prettier than the real flowers!
They are so pretty!! 🙂
Such great ideas you have! I really need to learn how to use that flower nail thingy!
These are absolutely LOVELY! Your work is amazing!
This is why I love your site. Your always on time with great ideas. I was looking for some flower cookie inspiration and I love this idea. Thanks.
Seriously, woman, you never cease to amaze me (and keep me really busy trying to keep up with your ideas)!!
I love all of your cookies but these are one of my favorites ever. I just adore them!
I love these, Callye. I have been thinking about them since before Spring Fling. I am thinking about trying red geraniums in a pot.
Love these Callye! I have been thinking about them since before Spring Fling! I must try these soon. I thought about trying red geraniums. Do you think they would work?
I recently made these and they turned out AMAZING! I started my own little business last summer called Emi’s Treats and I made them for a vendor and craft fair on Saturday the 28th. I made 8 dozen total cookies (other designs including these) and SOLD OUT!! I think everyone liked this one the best! I’ve got he picture on my facebook page: http://www.facebook.com/EmisTreats. You should check it out. I did all the same color flower instead and used piping icing for the base flower instead of flood. I was under time constraints. Also, my leaves were kind of like a 30 second icing consistency so don’t have definition. If I do it again I’ll definately use stiffer icing. So with all that said… thanks for the tutorial! I love your work and love the step by step instructions!! 🙂
these are so gorgeous! they’ve got me in the mood for spring 🙂 I love the 3-D effect of the royal icing violets, very cool.
Pingback: Summer Flower Decorated Cookies » Glorious Treats
CUTE!
Pingback: Nana’s Favorite Flowers | Amandolin Kitchen
Pingback: Bright and Pretty Daisy Cookies
Where do you get your supplies?
Pingback: Twenty Decorated Flower Cookie Tutorials