Peeking Bunny Cookies
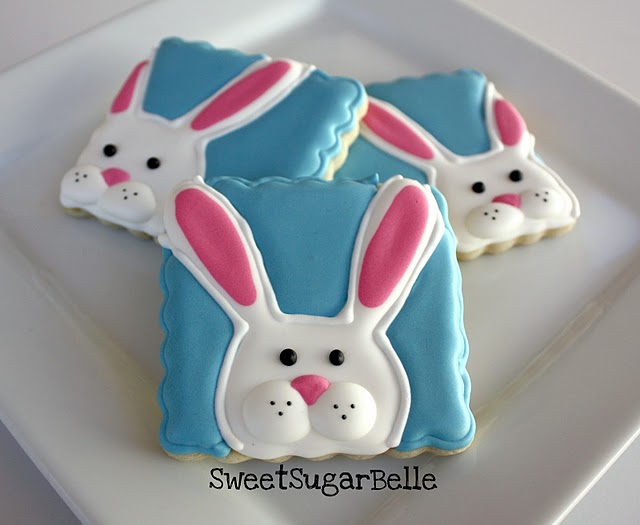
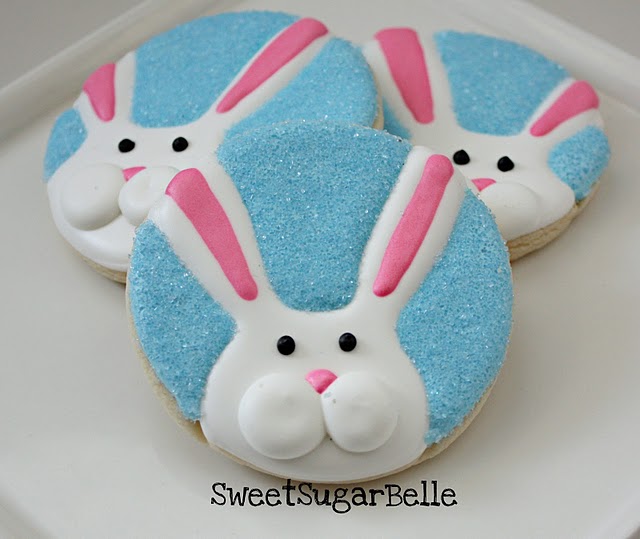
Accidental successes reminded me of this little guy =) Isn’t he cute?


![]()

The funny part is, I didn’t plan him that way. While making last year’s Easter cookies I ran into a little road block. My cute little bunny was the outcome.
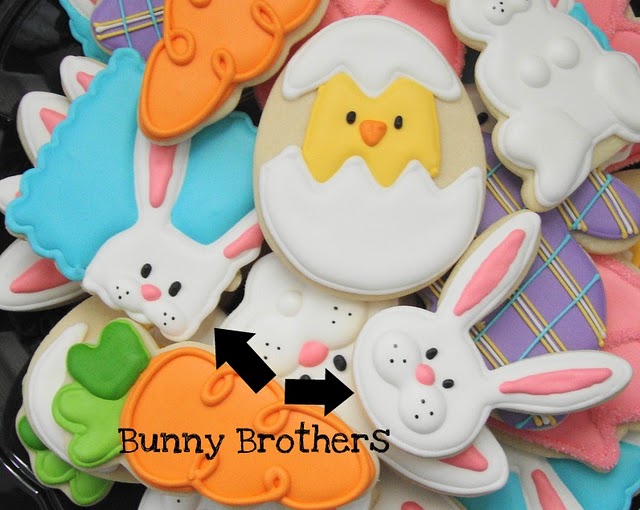
If you look closely at one of my platters from last year, you can see Mr. Bunny AND his twin brother the stand alone bunny.

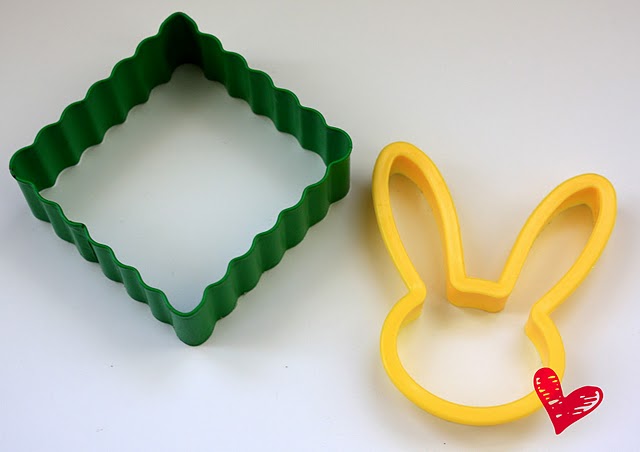
When I found this cutter I was SOOOOOOOO excited, until I began using it. It only took one batch of cookies for me to learn that if the ears did not break off while cutting, they would soon after being handled.
Baking didn’t help the situation. If the ears didn’t snap when I removed them from the pan, it was a miracle. I was very disappointed and desperately wanted to salvage my project.
What seemed like a fail quickly took a turn for the better. Mini {and major} disasters often lead to some of my best ideas.
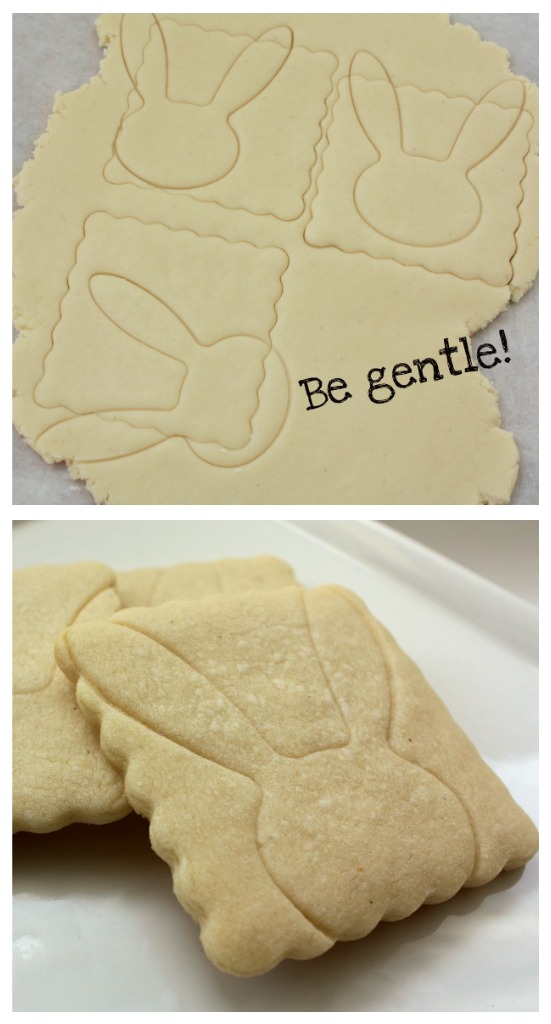
In an attempt to maintain my sanity, and salvage my cool cutter, I came up with another plan using that same bunny and a scalloped square.
?

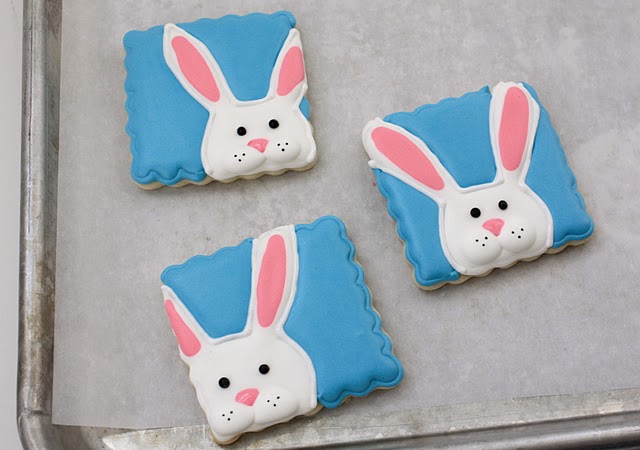
First, I cut out the square cookies. Then using my bunny cutter, I lightly imprinted the dough so that I would have an clear outline to follow after baking.? Remember to be gentle. If you press too hard, it will separate too much during baking and leave a large gap.
After they are baked, follow these steps…
I added the ears while the white fill icing was still wet. This is referred to as wet-on-wet.
After letting the bunny dry for at least an hour or two, begin step two of the fill process.?

To get a dimensional effect on the bunny face, you must work in steps, giving each addition twenty or so minutes to dry.

When the cookie is completely dry, add the final details. I outlined the bunny, and added the eyes nose and whiskers.

Round cookies also work beautifully. This time I added sanding sugar. I thought they were especially pretty like this.
?

Imprinting cookie dough will work for almost any design. It is another way to get the effect of a KopyKake projector without the investment, and also to salvage those cute but impractical cutters.?
Try it!?


Pingback: Cookie Collage One | Sweet Hope Cookies
Hello. I love your work. It’s really amazing.
Please, I would like to know where did you buy this bunny cutter?
Thank you.
I love this idea!! its awesome and super cute!!
Love these! They are so stinkin’ cute! You are unbelievably creative!!
Brilliant as usual. Looking forward to giving this a try!
Thanks a lot forsharing your creative work. Very nice,
Using the two cookie cutters together is just brilliant. Wish my mind worked like that!
Super cute idea!
You are a fantastic baker! I really love your work! Welldone!
Hi Callye
Do you know what size tip you used when you made the little puffy cheeks? I am dying to make these this Easter!! Thanks so much!
I bet it was a #2 =)
Adorable as always Callye! And you’re right!!! They do look like my free printables. I guess clever girls just think alike. 😉
OMG!!!!!!!!!!!! These are the CUTEST cookies on the WEB!!!! I love them.
Thank you again for so so much inspiration!
Pingback: Possibly Will Make You Squeamish? « Mrs. The Pants
Pingback: Using a Kopykake Projector to Decorate Cookies
I came across this post today via Pinterest and thought, wow, Caylle sure knows how to take a current trend (cookies presses) and make it accessable to everyone. Then I looked at the date — March 2011! Wow, girl, you are always ahead of the game. You are brilliant!
Pingback: Happy Blogger, Sad Blogger, Mad Blogger
Ooooooh myyyyyy Goooooosh!!!! These cookies are extremely cuteeeee!!!! It looks hard ,but you did an amazing job on decorating them. I’ll stilltry to make them though. Thanks!!!
Pingback: Owl You Need Is Love « by amber's hands
Pingback: 100 Easter Recipes, Crafts, Decorations and More - A Helicopter Mom
I seem to be obsessed with your website! I love your work!
Pingback: Easter Bunnies | The Lazy Indian Cook
what is the recipie for the cookie dough