Adorable Christmas Yeti Cookies with Melissa Joy Fanciful Cookies and More
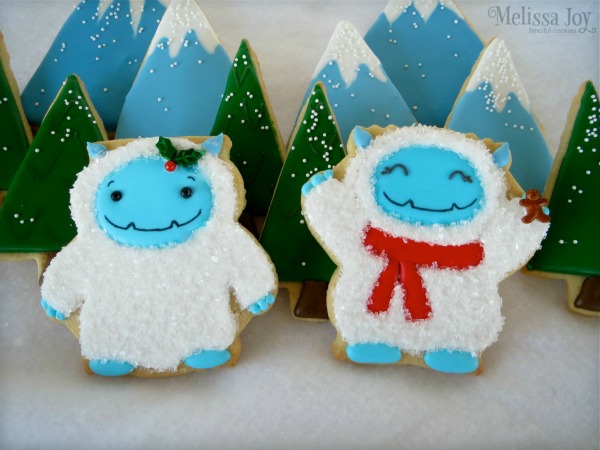
Melissa Joy Fanciful Cookies really hit the nail on the head when she named her cookie business, because it perfectly describes her whimsical, imaginative designs. With each new cookie, I am equally delighted and inspired, and I think you will be too. Follow along as she teaches us how to make her adorable Christmas yeti cookies, with an owl cutter!
Thank you, Callye, for having me as a guest on your awesome blog. It’s a thrill to be here, and I am so excited to finally share my Holiday Yeti Cookies with all of you!
I have been thinking about these guys for months and couldn’t wait to give ‘em a go. I wanted to create something a bit quirky this season, but maintain the Melissa Joy style of keeping it simple and cute. Always cute, right? 😉 Yeti cookies for this Christmas seemed to be just what I was looking for!
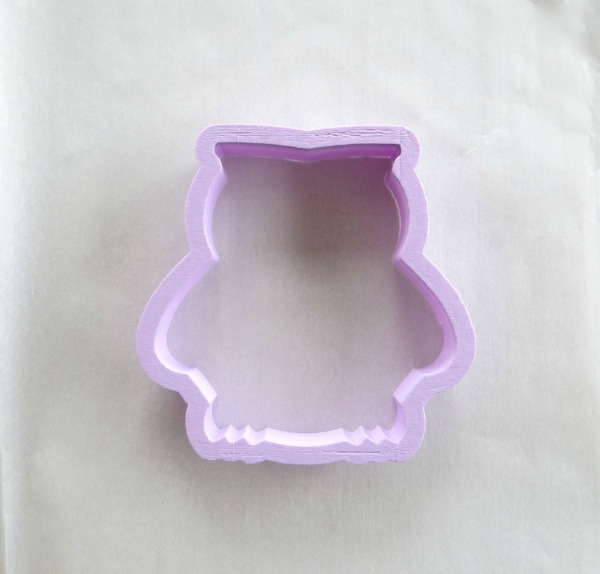
 For this design, I used an owl cutter. It seemed to fit my sketch well, but dig around your stash of cookie cutters to find what will work best, like this one, or this.
Repurposing the shapes you already own will mean less cutters to buy and store. This is what I tell myself, but I tend to acquire more cutters regardless!
 To decorate these cookies you will need:
- White icing-a thicker 20-second
- Light blue icing-a thicker 20-second
- Red icing-a thicker 20-second
- Black food writer
- Black sugar pearls or black piping icing
- White sanding sugar or white jimmies (that’s what I call them, anyway!)
- Various holiday candy sprinkles or royal icing transfers (holly & berries, santa hats, gingerbread men)
I actually made two poses for the Yeti; one with the cookie right side up and the other flipped upside down. Here’s the right side up version first…
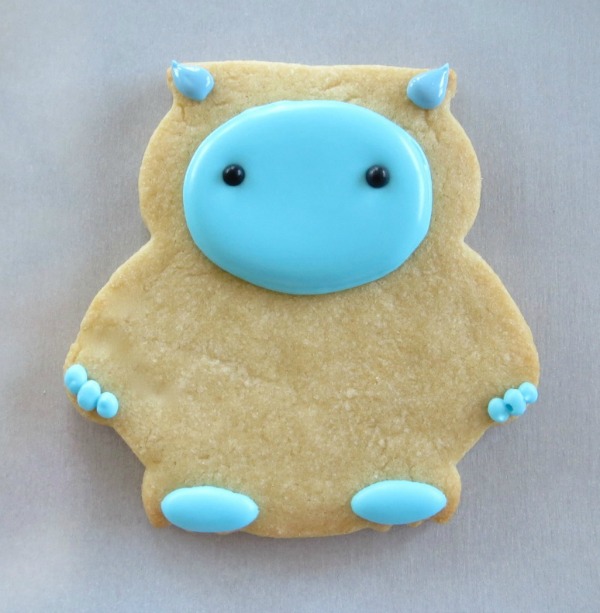
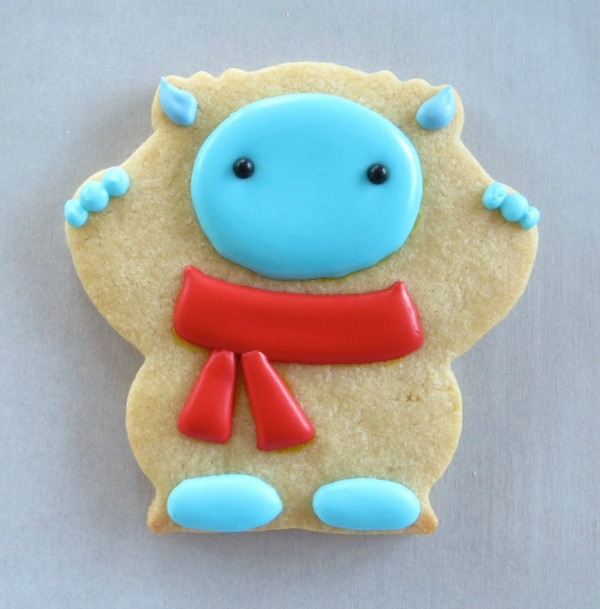
With the light blue icing, create an oval shaped face. Immediately drop in black sugar pearls for eyes, if using (there is always the option to pipe black eyes or draw them on with a food writer later). Make horns, fingers and feet with the same blue icing. Let set for 10 to 20 minutes with the assistance of a small fan. It speeds up the dry time!
 Fill in the rest of the Yeti with white icing, leaving a little space between arms and body. Add white jimmies (or sanding sugar) while the icing is still wet. Let dry completely, for several hours or over night.
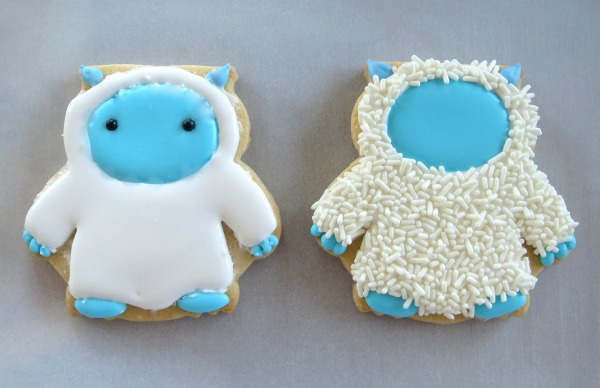 Before we add details to these, let’s look at the the upside down cookie version…sort of like a Yeti giving a little cheer!
Again with the light blue icing, pipe horns, fingers, feet and face, dropping in black sugar pearls for eyes.
This guy wears a scarf, which you can sketch out on the cookie using a food writer first. Drawing a guide on the cookie helps me get the proportions right, in some cases! Pipe the scarf in segments with a 10 minute dry time after each section (neck, left tie, right tie), to create definition between each part.
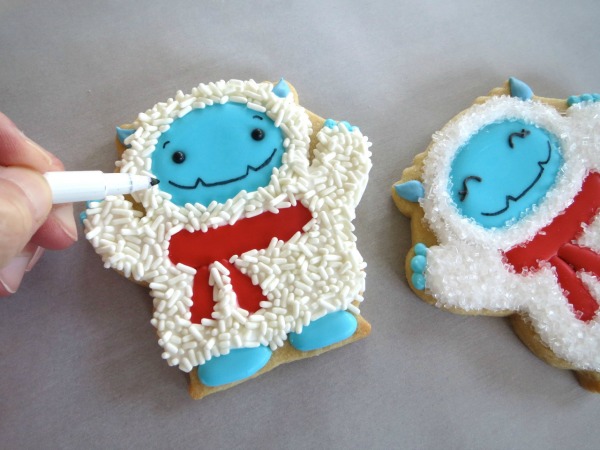
 Fill in the body with white icing and add white jimmies or sanding sugar to make the Yeti look fuzzy. Let dry several hours or over night.
 The next steps are my favorite part of decorating, because the designs really come to life!
With a black food writer or black stiff icing, create a smile, eyebrows and/or lashes on the faces. So sweet!
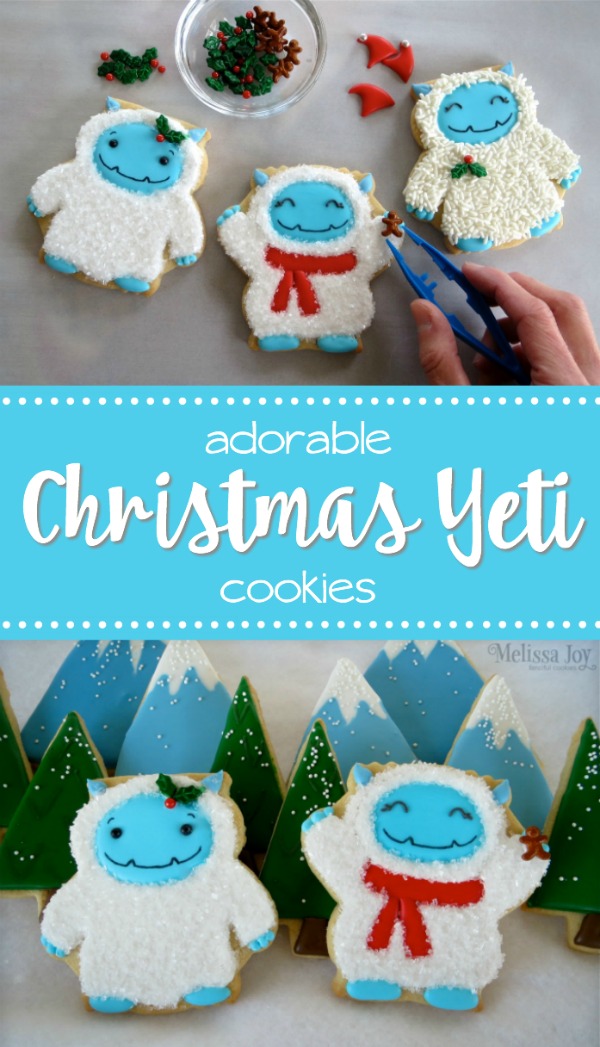
 Now gather up your holiday sprinkles or royal icing transfers for embellishing the Yetis. I pre-made the santa hat transfers with left over red icing from my scarves the day before, but Wilton’s holiday sprinkles makes adding details even easier. They have a great selection of candies this year, and I may or may not have bought one of each container they offer…eek!
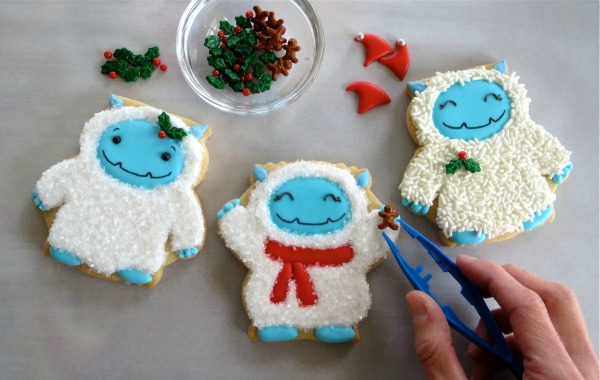 Arrange and add all the sprinkles you like, adhering them to the cookie with a touch of white icing. It’s so fun and the possibilities are endless!
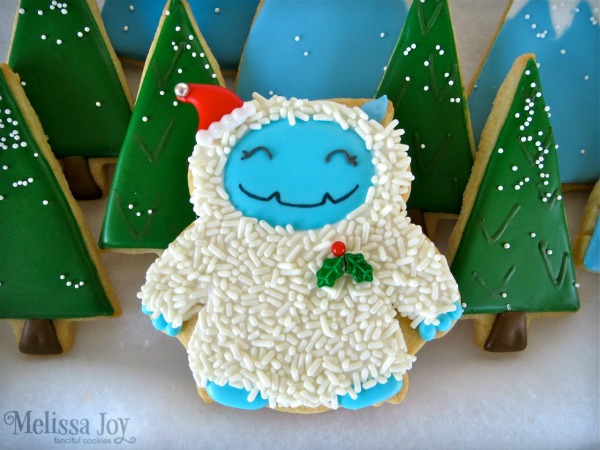 I rounded out this holiday Yeti set with the addition of simple mountain and evergreen tree cookies. Snowflake cookies would also be a great compliment!
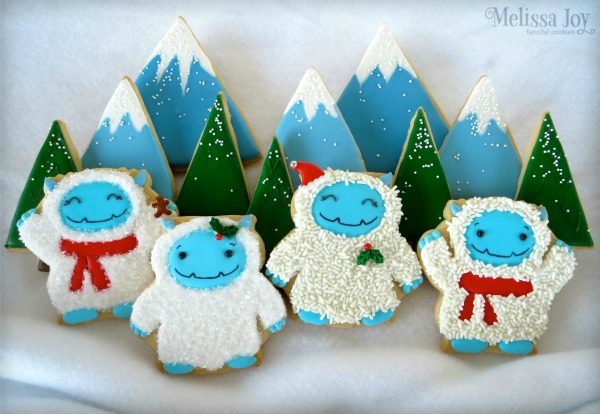 I’m thinking that Yetis would be pretty versatile for any winter month…like swapping out the Christmas sprinkles for hearts on Valentine’s Day, or placing snowflake candies in their hands or on their bellies. Maybe giving them party hats for birthday treats? For whatever reason, I’m obsessed with Yetis! I hope you get the chance to create a few and give the design your own spin. Let me know what you create, if you do!
Thanks again, Callye, for having me here, and happy holiday baking!
 Melissa Joy Fanciful Cookies


Too cute!!! Great idea to flip the cutter and give him a new pose. I love them!
LOVE!
Those are precious!
Me encanta!!! sobretodo el poder darle un diseño diferente a un mismo cortador. Gracias!!!
Just love your work. Thanks for sharing.
I mean…. Who doesn’t love a Yeti???
Adorables!!
I was just wondering how you get the great shape. Everytime I make sugar cookies the dough always ends up spreading in the oven and the shapes don’t stay the shapes they started with. But I love, love, love the way these cute Yetis look and would love to make these cuties!!
Berlioz can’t settle the buzz originating from his bass violin, yet when the fleeting trend gets stuck in an opening, the wellspring of the bizarre murmuring sound acts the hero and helps the band get to the stage on time…
Thanks for the best blog.it was very useful for me.keep sharing such ideas in the future as well.
Thanks for giving me the useful information. I think I need it!
Good to know that such kind of posts are there to help ignorant and novice people.
Thanks, you guys that is a great explanation. keep up the good work in your granite blog.
this is one more awesome web pages of it’s kind
Those are so adorable- with the colours and stuff.
We could get free roblox robux very easily through a roblox generator which is doing amazing these days and people are using it a lot.
What cookies cutter did u use for the Christmas trees?
I have been intending to compose something like this on my site and you have given me a thought.
by visiting this site I found cool stuff here keep it up.
I’m really impressed with your article, such great & usefull knowledge you mentioned here
From your blog, I can learn some new knowledge, I like the valuable information you provide in your articles.
All things considered, thank you for making such helpful article.
Truly like and appreciate your post. Actually seeking forward to study a lot more. Sincerely Cool. Thanks a good deal for sharing with us!
I need to support that you proceed with your incredible occupation, have a decent day.
All things considered, nothing I can say except for incredible! I trust you’ll make more helpful articles in the up and coming days.
Such holiday like Christmas needs something special. These things will be a great addition to the festive table decoration. They turn out very tasty and beautiful.
I really like the dear information you offer in your articles. I’m able to bookmark your site and show the kids check out up here generally. Im fairly positive theyre likely to be informed a great deal of new stuff here than anyone.
These would make adorable sheep for Easter!