Decorated Strawberry Cookies
Since the very first day decorating cookies has been an adventure. I’ve outlined, flooded, glittered, gilded, airbrushed, painted, and stacked cookies to bring life to all of the crazy ideas in my head.
While all of that’s fun, there’s a lot to be said for simple cookie designs. You know, timeless classics. The shapes I come back to over and over again.
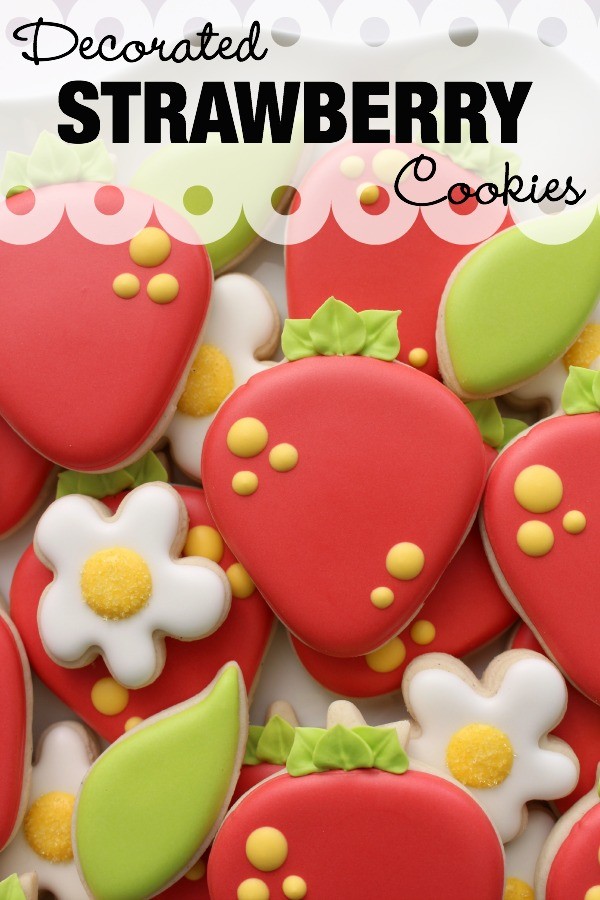
Decorated strawberry cookies are one of my all-time faves. 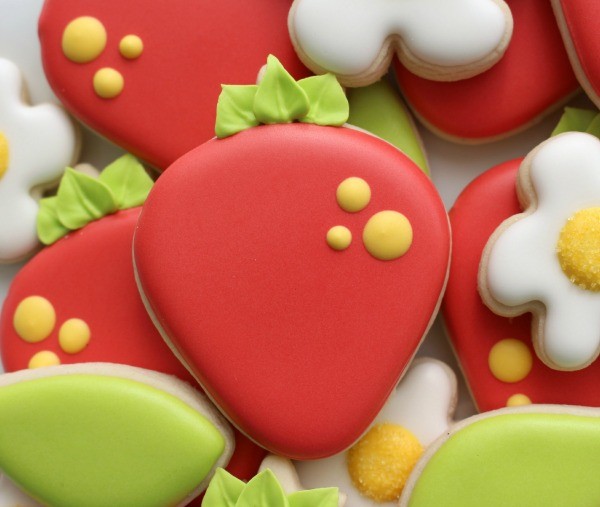 At this point, I must’ve made strawberry cookies at least twenty times. The colors change along with a few details, but they’re just as fun now as they were when I began.
To make simple strawberry cookies you will need:
- Red piping and flood icing
- Stiff lime green piping icing
- A small amount of yellow flood icing (if you have any leftover, use it to make royal icing flower centers to keep on hand for future projects)
To decorate, follow the steps below:
- Outline the cookie with a #2 tip.
- Fill the outline with icing and let the cookie dry. This can take anywhere from four to twenty-four hours, depending where you live.
- When the cookie is completely dry, use lime green icing and a #66 or #67 tip (whatever you have on hand) to pipe three leaves on the stem. For the best results pipe the outside leaves first, wait a minute or two, then add the center leaf.
- Finish up by adding a few dots for “seeds”.
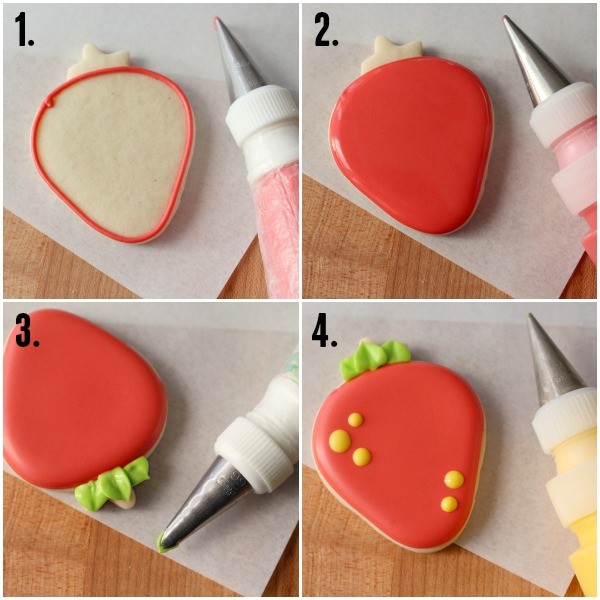 If you prefer, you can always use a small round tip (like a PME #1.5) to pipe actual seeds, but my tired old hands gave up on that long ago.
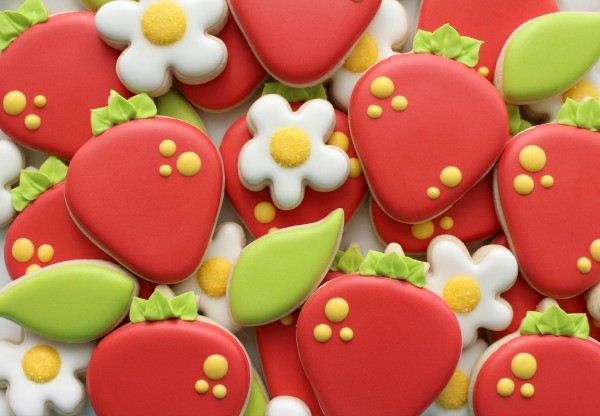
I added a few quick accent cookies to really make the red color pop. I’ve said it before, and I will say it again. Sometimes (often) the simplest designs are the best.
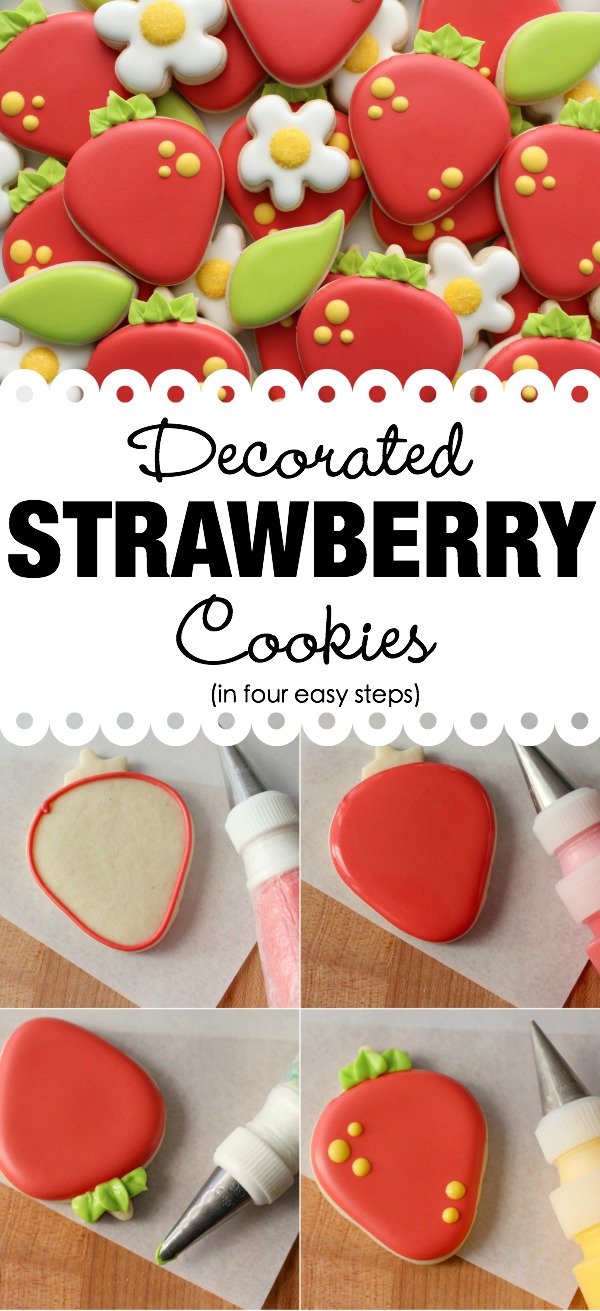
 Oh yes, and since I promised I would make an attempt to share more video tutorials, you can catch me in action here.
When it comes to cookie decorating, it’s always fun to experiment and learn, but it’s not always necessary to reinvent the wheel. Don’t be afraid to get back to basics every once in a while, you may be surprised at how things turn out.
For more ideas and inspiration, check out the following links:


Thanks for the video, it makes me happy see you in action
Love, from Guadalajara.
I love your cookies and your video! They are perfect
Yay a video! Love it! Keep em coming. Simple is always the most beautiful:)
Simple, but beautiful none the less. I love your cookies!!
Love you and love these cookies! You’re right – simple is almost always best!!! 🙂
You are such an inspiration to the entire cookie community! I’m waiting to see when your first book comes out, I know it would be a huge success! Just sayin’.
If I had piped the top of my strawberries in the same sequence that you just did, mine would have been perfect like yours. I learn something new ever time I read your posts.
Sweet and simple! I just noticed how you turned the icing tail in towards the center of the cookie so that you don’t get the blob where the two ends meets. I’ll have to try that!
Simple and great video…now I know piping dots without craters…thanks
Your strawberry cookies are perfect! Great cookie decorating tutorial (as always).
Sigh.. How I love what you do the way you do things!!
No matter the design you are Always Impecable!!
Love love love!!
xoxo
Paula
Your strawberry set makes me happy! 🙂
Adorable!! I must ask, where did you get your mini 5-petal flower cutter? Such a cute set!
I am kind of a hoarder of the things…that one came from Global Sugar Art, but now, if you look around you can find them on Amazon and Ebay. Hope this helps!
Posso avere la ricetta in italiano ?
Vorrei decorare le fragole
Pingback: How to Make Strawberry Cookies with Video | The Bearfoot Baker
What tip do you use for the seeds? I love your cookies
I used a #2 tip, and flood consistency icing! Hope that helps!