Easy Decorated Burlap Cookies
To most people, these probably look like burlap Easter bunny cookies. But when I look at them, I see so much more. I see victory!
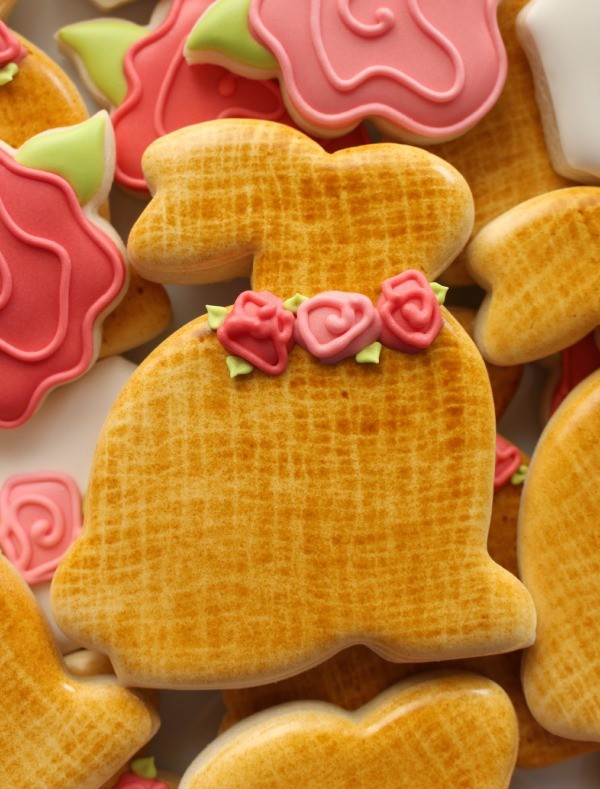 Seriously though, I’ve been experimenting with decorated cookies that look like burlap for years now. I’ve piped them (total hand-killer), tried stencil after stencil, and even toyed with using actual burlap, but none of these methods produced the effect I had in mind.
Then, after about four years of thinking, it hit me. Cheesecloth!
It’s so simple I’m kind of embarrassed it didn’t occur to me before.
To decorate these cookies you will need:
- Light ivory piping and flood icing
- Ivory Airbrush Color
- Dark pink piping and flood icing
- Lighter pink piping and flood icing
- Stiff light green piping icing
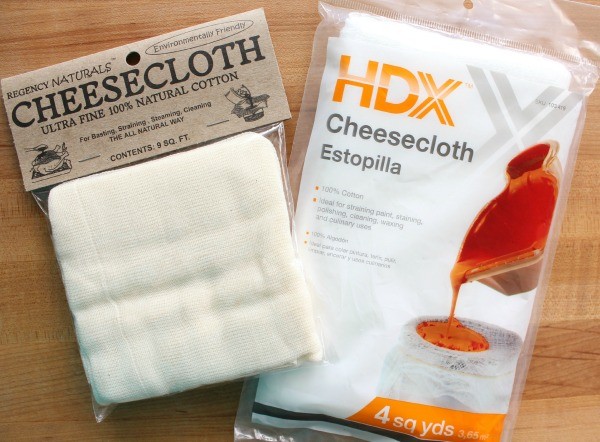
- Cheesecloth*
- Embroidery hoop
*You can find cheesecloth at most hardware/big box stores in the paint or sewing and crafts section.
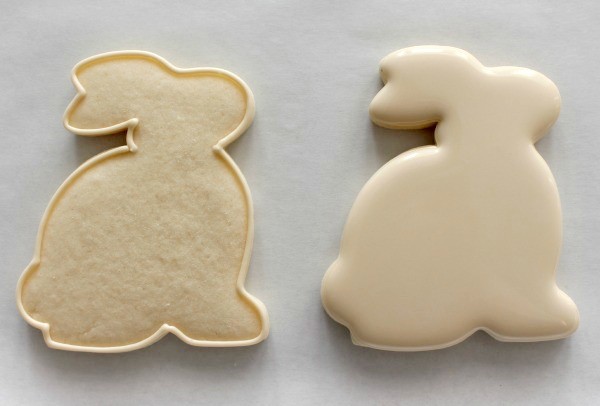
Use ivory icing to outline and flood the cookies. Once filled, let them dry overnight. It is important that the base layer of icing is completely dry. If not, the airbrush color may bleed and not look as sharp.
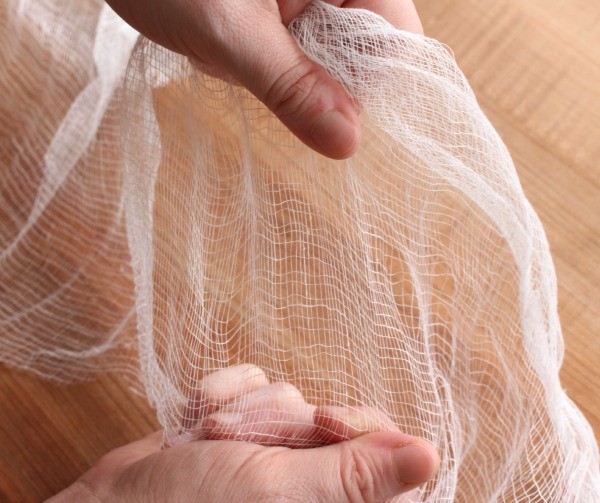
 The next day, prepare the cheesecloth. You can leave it as is, but I pulled it a little for a more rustic, less uniform look.
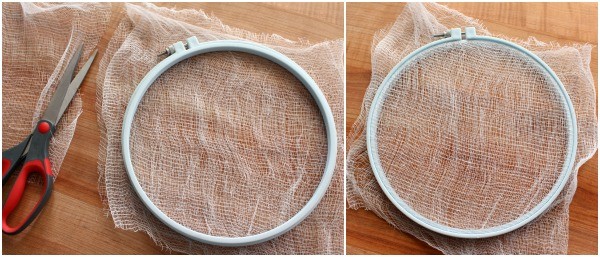
 Using an embroidery hoop as your guide, cut two squares of cheesecloth to size, lay them on top of each other, and secure tightly in an embroidery hoop.
 Next, prepare your airbrush, and lay the hoop over the dry cookies.
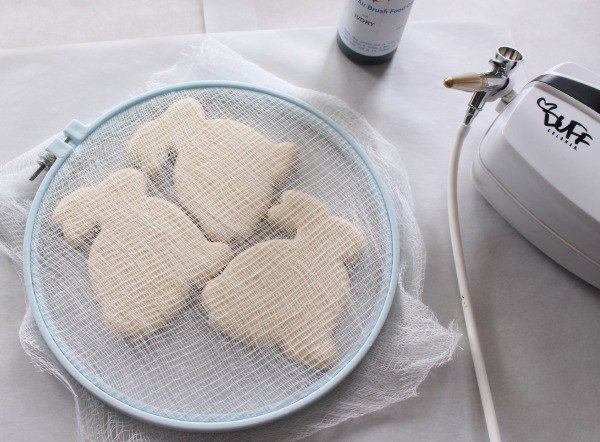 Using ivory airbrush color, lightly spray the cookies. Most of the time I would recommend smooth, even strokes, but in this case, uneven areas of color actually give the cookie character.
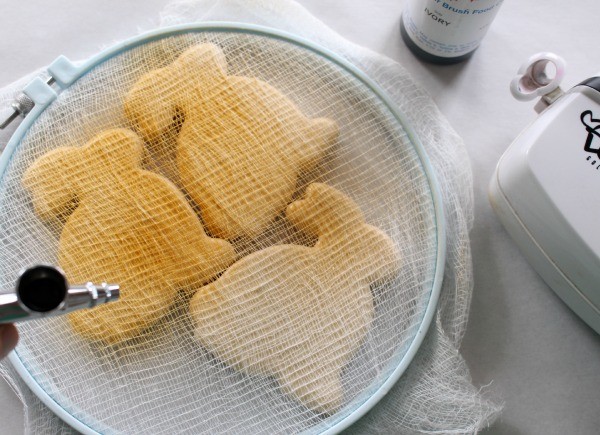 Next, remove the hoop to reveal the pattern below. Neato, right? You can stop here, or keep going if you like.
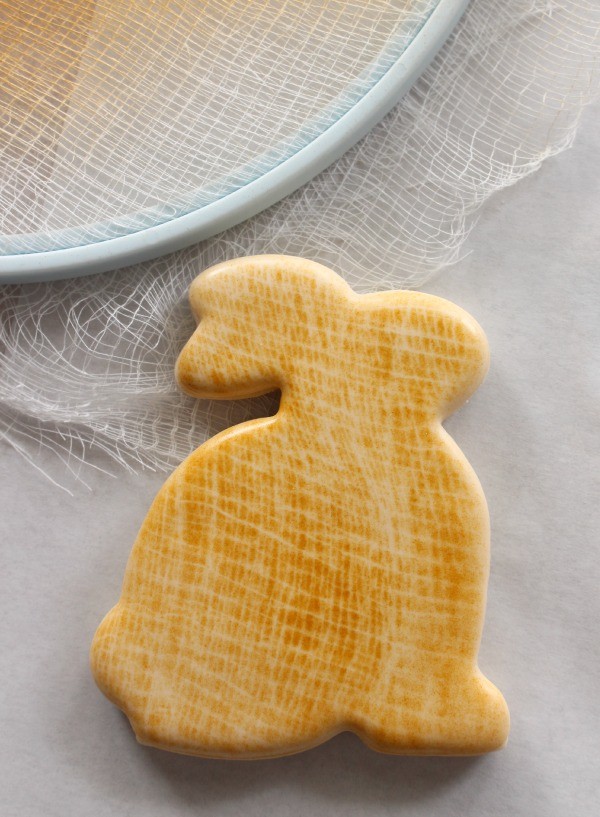 For a more subtle look, I went over the cookies once more with the airbrush. See the difference?
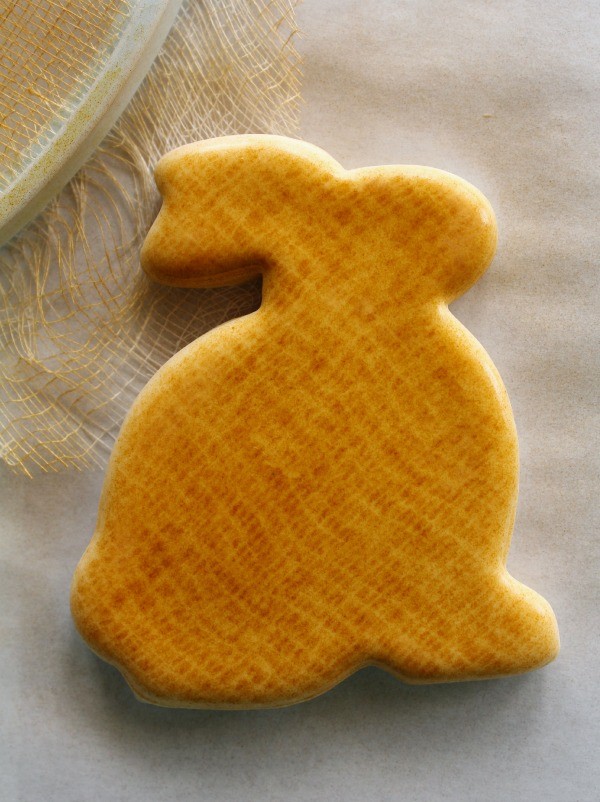 The best thing about this technique is that there are many possible looks and combinations to suit your needs. Here are a few examples.
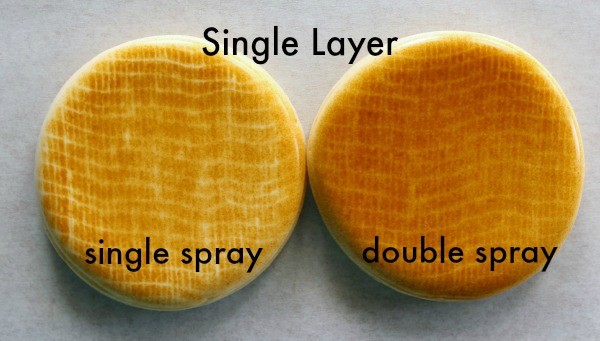
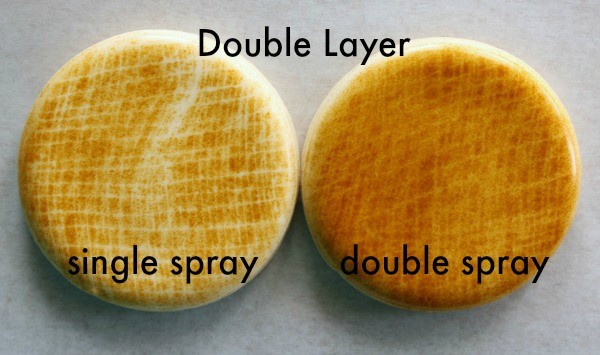
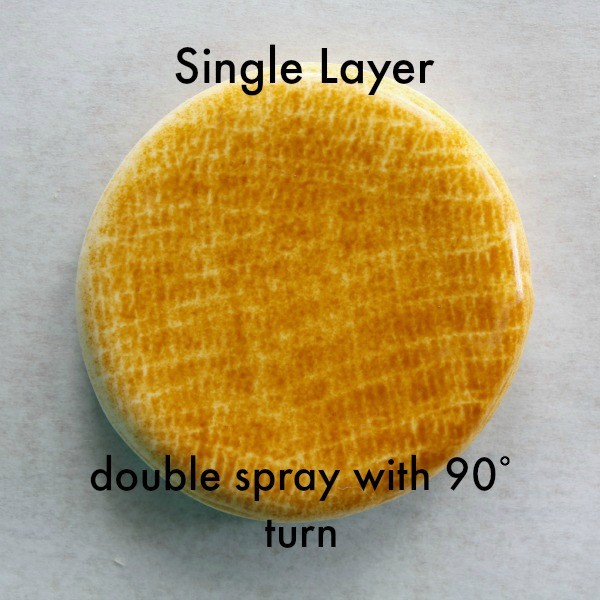
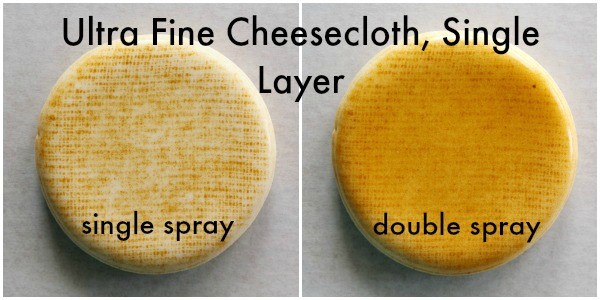 My personal favorite is a double layer of cheesecloth, double sprayed. Oh, and if you didn’t know there were different types of cheesecloth, don’t worry, until a few weeks ago neither did I!
Now before I get too far off track, let’s finish up.
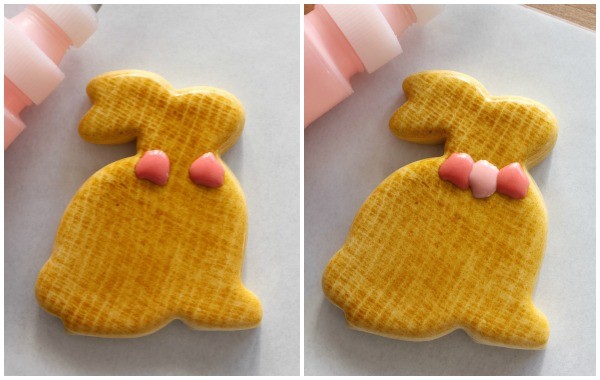
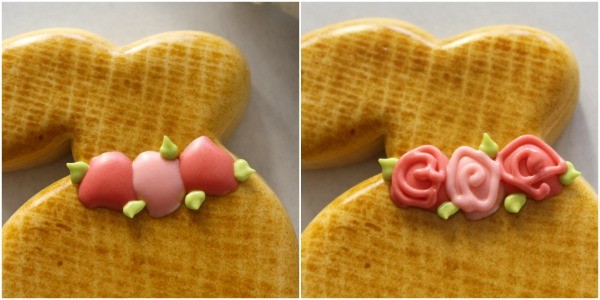
Begin by adding a line of squiggle roses to the bunny’s neck. Apply the darker pink dots first and after they’ve had a minute to set, add the lighter pink dot in the center.
 Next add tiny leaves (#65s) and swirls to the roses, and you’re done!
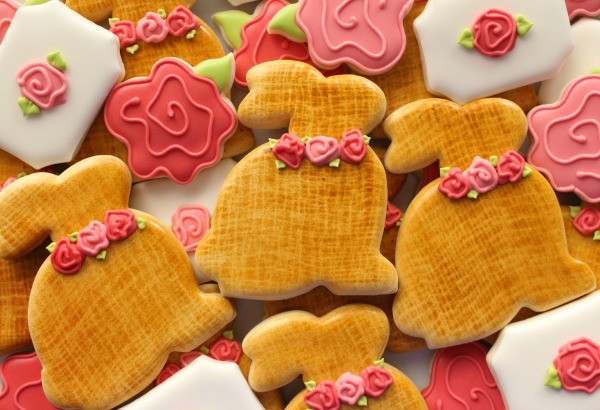
 Finally, a burlap cookie option that doesn’t leave you with carpel tunnel syndrome.
As always, I like to mix several different designs to make things a little more interesting.
For more inspiring posts, check out the links below:


Great idea!
Beautiful
I can’t wait to try this! ????
(My emoji heart turned into ????)
Finally, a use for cheesecloth that I can get behind! Darling bunnies. 🙂
This could be cool with lace or nylon net in the frame too.
Thank you for your dedication to teach us all new ideas and techniques! I have done this with lace before, but your cheese cloth idea for burlap is genius!! I have a serious dislike for hand piping burlap and this is PERFECT! You are a gift from God to all of us cookie people! THANK YOU!!! (((HUGS)))
Hi Callye!!!! I was very plea to see this demo. erring if is technique e done and your demo assures me it is achievable! I toyed with thought of trying with toile fabric but, as usual, got discouraged and threw it out. I’ll buy more and also get some cheesecloth and give this a try. I don’t have a machine but I can try with canned spray.
I been looking for you on Youtube. I am happy to know you are back on.
Happy Palm Sunday and Easter Day!
Hello Callye!!!
Great work…as always!!!
Your cookie vision…goes far away…you do not settle for the basics…you want more and more…that makes the difference!!!
One question please…what´s the number of the tiny leaf tip???…mines are so big.
Thanks!!!
Cristina.
Oh, this this SO wonderful! Makes me wish I had an airbrush….but I think I’m still to lazy for one. 😉 Love these sweeties!
Thank you so much!! Always such a pleasure to see your tutorials.
OOH! Cheesecloth!! You’re brilliant! I love how the look can change with how you pull and twist the cloth before airbrushing it. It will be a cool look for spooky cookies at Halloween time!
Tip o the hat to you for dreaming up this technique!!! Pretty genius!
Thank you for this!! I have used your tutorials a million times and I’m sure I’ll be using this one as well for my son’s ‘burlap and lace’ wedding this summer! And thanks for sharing where the rose cutter is from. I need that!
This is pure genius! Any new ideas for a bunny tail?
So cute! Can’t wait to try this technique! Thanks for being so giving of your talents!
WHY ARE YOU SO AWESOME! I am so thankful I fell across your cookie blog years ago. I have learned so much and I always tell anyone who asks about my cookies…Sweet Sugarbelle, Sweet Ambs, and LilaLoa!
Holy moly you’re a genius! Serious. GENIUS! Crazy amazing results.
Brilliant! These are beautiful.
What an awesome technique! Love the burlap effect!!!
You are a genius!!! Thanks for sharing this wonderful tip.
Nice work.. as always. Love the easier version of the roses… so simple. You are so smart and creative.
Finally found cheesecloth in the craft section of my local Walmart – got the airbrush color thanks to Amazon – can’t wait to try this !!! It’s so cute !
Love these little bunnies – I have all the above, so a burlap bunny making I will go! 🙂
These little Easter bunnies look adorable, and just when you think they can’t get better, you bust out a burlap style!
Awesome!!!
These are great. I can imagine the burlap technique on several other things. I am also interested in the flower cookie cutter. can you say where you got that?
These are incredible! What an awesome idea 🙂
Pingback: How to Make Cookies Look Like a Rustic Cake - The Bearfoot Baker