How to Airbrush Cookies with White Gel Color {Guest Post}
When using an airbrush to decorate cookies, the most typical approach is to apply a darker color over a lighter base. Until recently, creating the opposite effect (white over a dark base) was limited to white icing, or disappointingly translucent bright white airbrush color.
I don’t know about you, but this has always left me feeling a bit limited when it came to certain cookie designs. You can imagine how excited I when I scrolled though my Instagram feed and discovered Keely, of Sugared Hearts Bakery, had come up with a solution. I immediately asked her to share.
![]() A few months ago, a client requested brightly colored Hawaiian shirt cookies with white hibiscus flowers. There were several decorating options, painting, wet on wet, or airbrushing.
A few months ago, a client requested brightly colored Hawaiian shirt cookies with white hibiscus flowers. There were several decorating options, painting, wet on wet, or airbrushing.
I am not a painter, so that wasn’t the best choice for me. Living in the Arizona desert makes wet on wet designs very difficult because of how quickly the icing dries, so the only option I had left was airbrushing.
I knew from previous experience that white airbrush color was fairly transparent and would not give me the bright white flowers that I needed. In a moment born out of pure curiosity and a touch of desperation, I decided to try white gel color to airbrush my cookies. Since the consistency of the gel and airbrush color was fairly similar there was a chance it would work. I was so excited when I removed the stencil and saw perfectly crisp, white hibiscus flowers staring back at me!
Since then, I’ve used white gel color to airbrush several cookie sets and I love it. Today I’d like to share my tips with you.
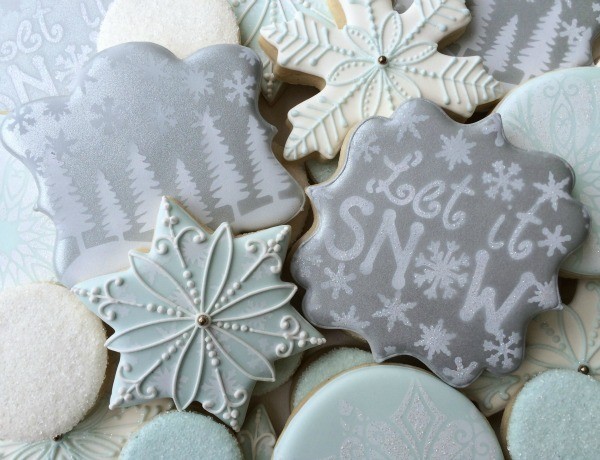 To make these cookies you will need:
- Gray piping and flood icing
- Silver sheen airbrush color
- Undiluted white gel color
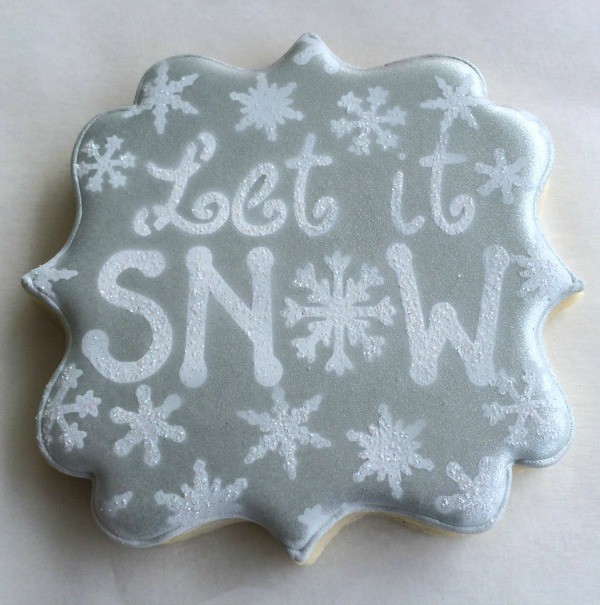
- “Let it Snow” stencil set from The Pink Mixing Bowl
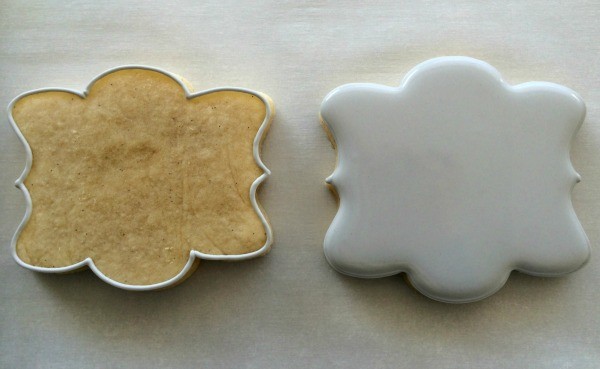
Begin by piping, outlining, and flooding your cookie with the gray icing. Let dry several hours.
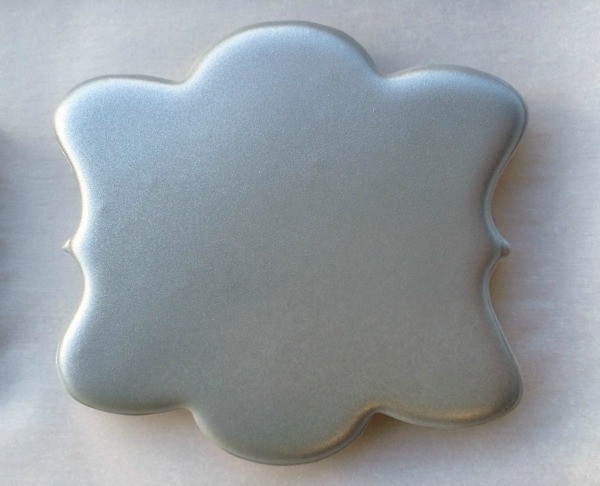
 Using the silver airbrush color, spray the entire cookie to give it a nice sheen. Let dry completely.
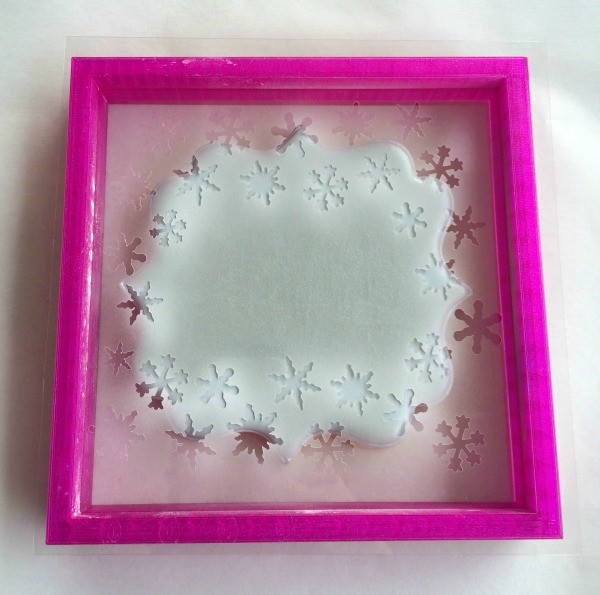
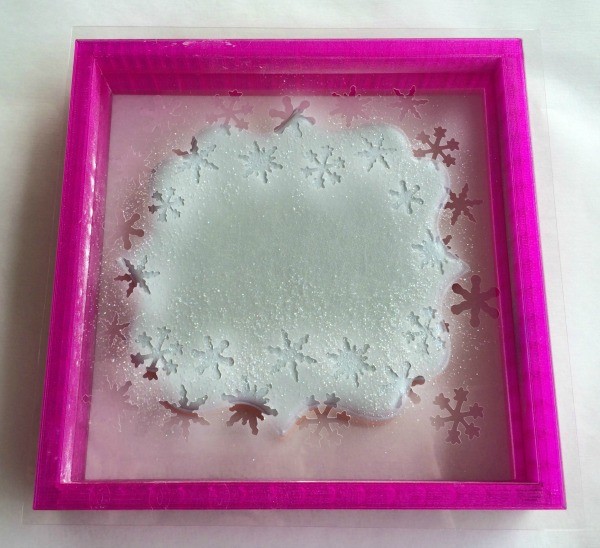
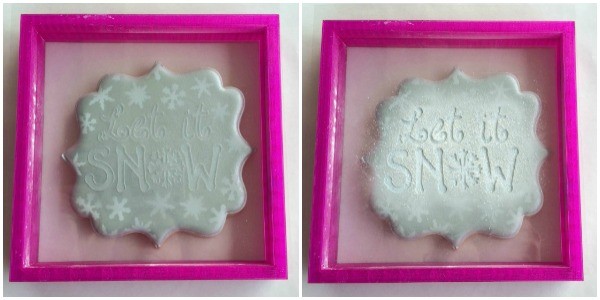
Shake the undiluted gel color well before adding it to the airbrush. Using magnets or a Stencil Genie, position the snowflake stencil over the cookie and spray in gentle even strokes.
Before lifting the stencil, sprinkle with disco dust. It is important that the base is completely dry, otherwise the glitter will stick to everything.Use the “Let it Snow” stencil and repeat steps above, adding disco dust if desired.
I own a KopyKake Airmaster, which is a fairly powerful airbrush compressor. When airbrushing with white, I have to turn the machine to almost full speed in order for it to push the gel color through. Even though the white is thin, it is still thicker than a normal airbrush color.
Since the color is thicker, it may be necessary to run vodka through the machine every ten or twelve cookies. If the gun starts to spatter, then it is time to clean it.
When you are finished, take the entire gun apart to clean it. The white is thick and likes to adhere to any and all parts of the gun. If you don’t properly clean it, the white will act like a glue and cause your gun to perform poorly. Use a small paintbrush to brush out any small areas that the water and vodka haven’t cleaned.
I have found that two very thin coats of white will give you a cleaner final result. Spraying too fast or heavy will result in fine cracks in the airbrush coverage once the white is dry. Lighter, thinner coats of white will not only dry faster, they will also be smudge-free.Don’t be afraid to try airbrushing with white gel color, the possibilities are endless!
![]() I’m ready to try airbrushing with white very soon. I hope you are too! To keep up with Keely’s latest cookie designs, be sure to follow Sugared Hearts Bakery on Facebook.
I’m ready to try airbrushing with white very soon. I hope you are too! To keep up with Keely’s latest cookie designs, be sure to follow Sugared Hearts Bakery on Facebook.


I have been waiting for a tutorial like this one Keely! Thank you so much for sharing. I am going to try this soon. I think you just make a lot of cookie decoraters VERY HAPPY and I am one of them!! THANK YOU!!!
Great post Keely!! I’ve been so afraid to use white gel coloring in my airbrush. After reading this, I can’t wait to try! Thank you for sharing 🙂
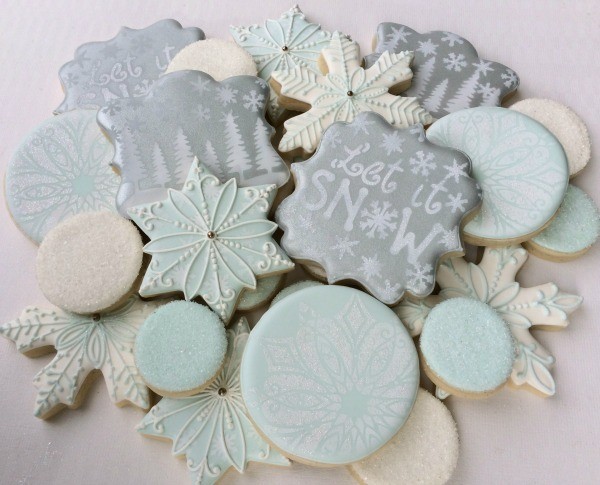
Thanks for sharing this technique. Can you tell us your source for the other cookies in the picture–trees, snowflake?
Great tutorial, Keely!! Love the cookies, too??
Great tutoprial! Thanks for sharing!
Woo-hoo, Keely, fellow Arizona cookier! This is super cool, I LOVE the cookies stenciled this way! Gorgeous, love the way you put the set together, too. Bravo! Thanks, to you, too, Callye!
BEAUTIFUL!!!
Yahoo! I can’t wait to give this a try. I see some chalkboard style cookies in my future. Thanks Callie & Keely!
Wow, the attention to detail on these beautiful cookies are amazing! Great pics!
This is great news – I am one happy girl right now! Thanks for sharing.
Thank you!
Those are awesome!! I finally got an airbrush machine (that I have yet to try out), now I need a Stencil Genie!!
Simply gorgeous, girl. D-Dust is my absolute favorite. Maybe this year I’ll try an airbrush. I’m so old school when it comes to this. haha And… welcome to the team! 🙂
Thank you for the tips!! Have you tried using other thinned out gel colors in your airbrush? If so, what would you say would be the ratio of gel color/vodka in order not to clog the airbrush?
Thank you so much!
Beautiful.
Can you tell me where I can find the stencil for the other cookies in the picture–trees, snowflake?
Thank you
Pingback: Hot Chocolate Mug Cookies with Semi Sweet Mike (Guest Post) | The Sweet Adventures of Sugar Belle
I need to make a light pale purple color for Easter and all I have is a dark purple color. Can I add the white gel color to it to get that lighter color? Thanks.
Hi! Having a horrible time with white..eek!!! So you just used undiluted white gel coloring straight in the airbrush and it works!?