How to Make Royal Icing Flower Centers with Free Printable Templates
Pre-made royal icing flower centers are not only a great way to use up leftover royal icing, they’re a great time saver. The next time you have a little spare time and icing, make some to keep on hand.
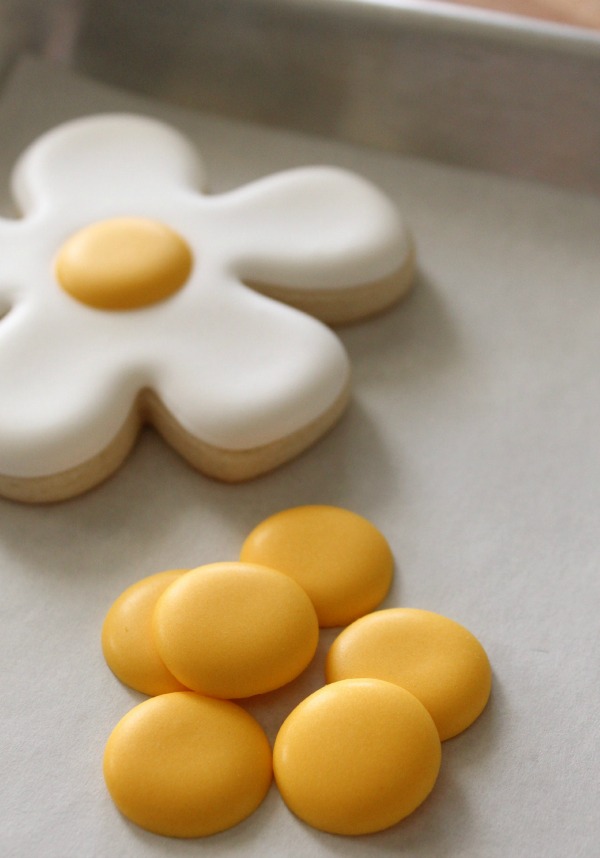 To make flower centers you will need:
- 15-20 second icing in the color of your choice
- Printable template of your choice: small, medium, or large {small is approximately 3/4 of an inch, medium 1 and 1/4 inches, and large is about 1 3/4 inches in diameter }
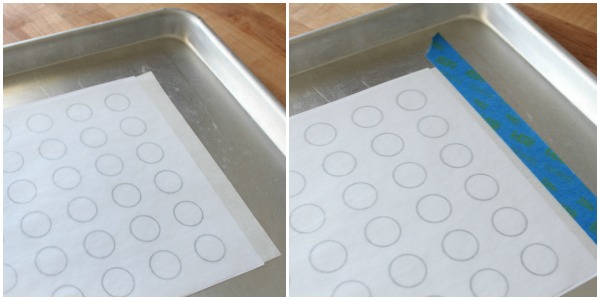
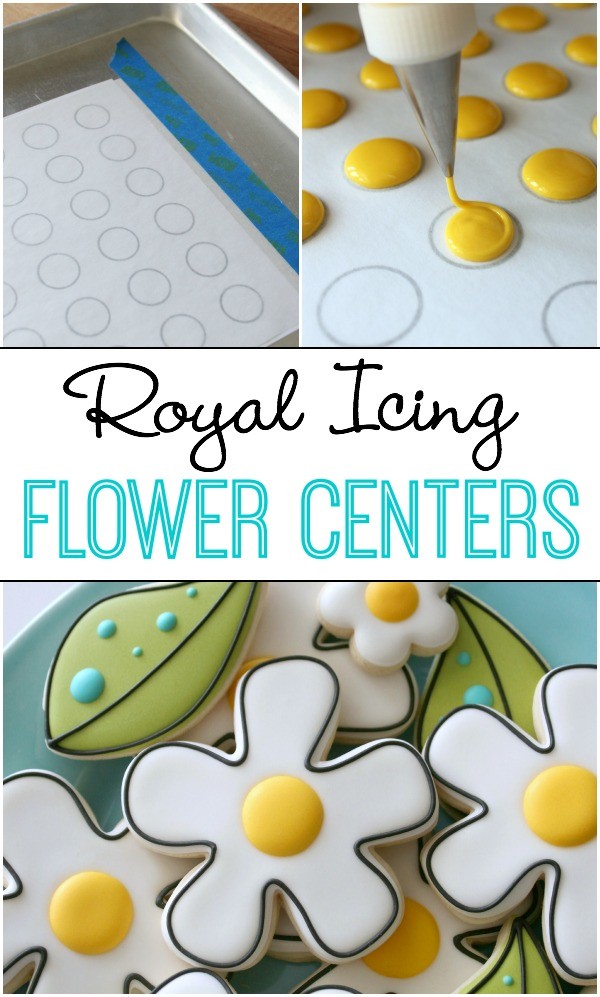
Begin by placing a piece of parchment or wax paper over the template. For easy removal, use painter’s tape to secure the paper to the cookie sheet.
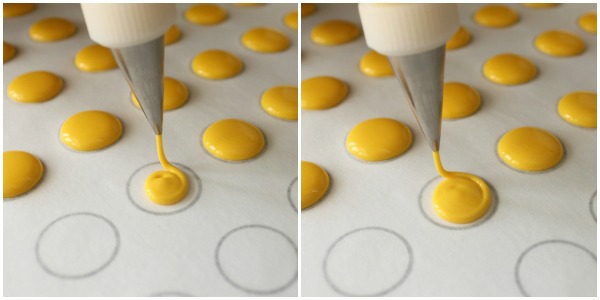
 Next, use 15-20 second icing {your preference} to fill each circle. To prevent cratering begin in the center and work outward.
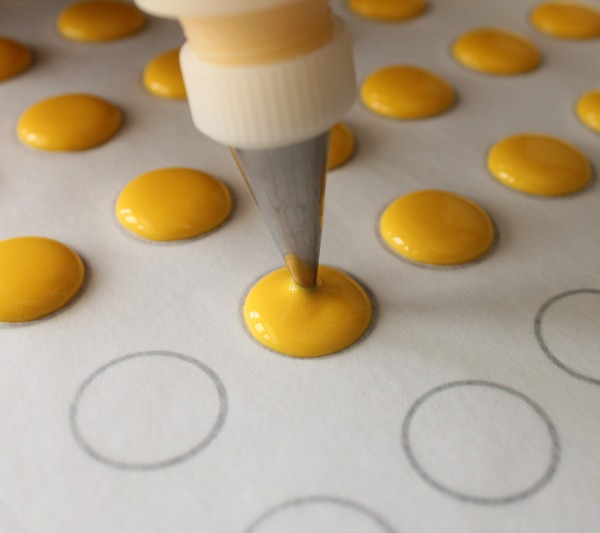
 Before moving on, use the tip to remove any air bubbles or pockets that might be hiding below the surface.
 To add interest, you can apply sanding sugar or sprinkles to the wet centers. It’s totally up to you.
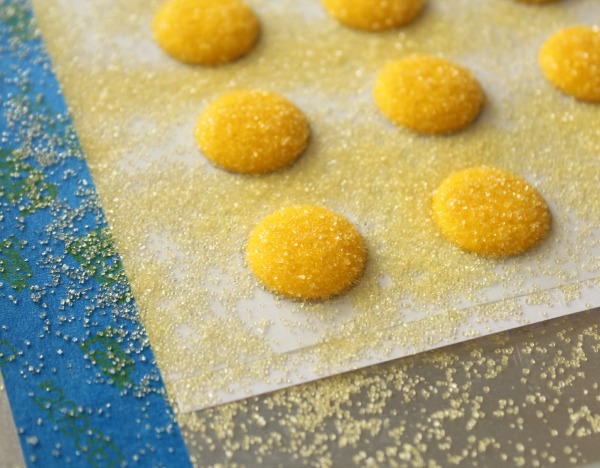 Once the sheet is full {or not}, let the centers dry. This may take up to twenty-four hours.
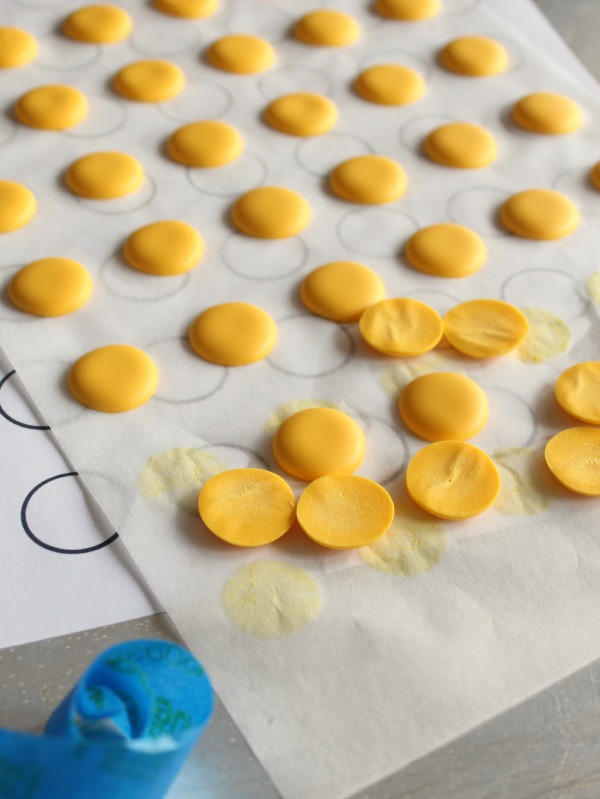
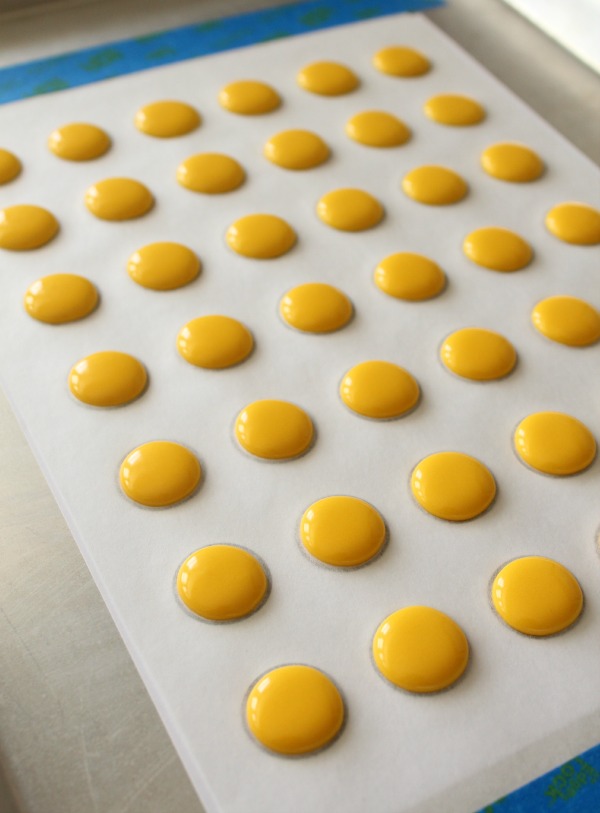 When they are completely dry, gently remove the painters tape and peel each center away from the paper.
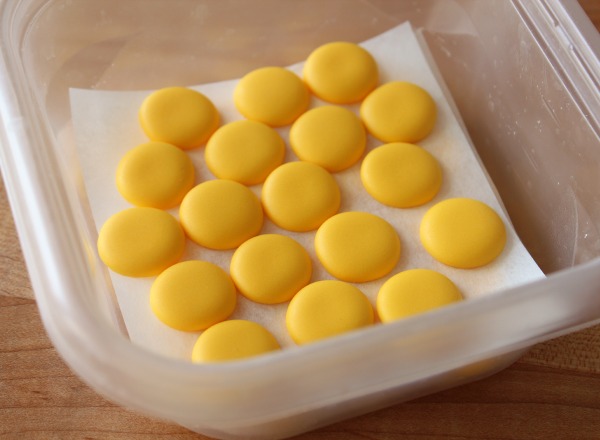
 Store the centers in a plastic container between sheets of parchment paper. This will prevent scuffs and scratches.
 Just a little something else to keep in mind…these dots also work great for other things. Ladybugs, Legos, eyeballs, and more. So, it never hurts to make them in all colors.
For more handy icing decorations, check out the following links:


Esto es algo grandioso , no soy experta y me gustaría aprender más, lo que se lo he aprendido empíricamente, los felicito son lo máximo !!?
I just love your cookie decorating and tips. I was wondering if you have done a book or are considering doing one. You do such a great job. Better then anyone who has done cookie decorating books. So Please.
I would love to see one. Thank you for sharing your hard work.
Kathy
Your post came at the perfect time! I have 150 daisies to make in a couple of weeks. You always post such great tutorials. Thank You!!
Great!!
Thank you for another great tutorial! Love your pictures, too, Callye!
Thank you for the stencils!! I always feel so guilty throwing away perfectly good icing. Appreciate your blog for all the great tips and beautiful creations.
Callye, I’m your number one fan! Love everything you do, thanks for sharing!
I have trouble transferring icing when I set them over wet icing (like the way you do) later the colors start fading and the finish cookie it’s awful! I use americolor gel coloring and every single brand or tip you said.
I don’t know what’s happening. Can you help please. Thank you!
Where did you get the flower cookie cutter in the picture??? Been looking for one like that forever!
Thanks!
That’s an old Target model. But this one is similar and SO very cute! I just ordered it! https://www.etsy.com/listing/184476451/new-wonky-flower-cookie-cutter-three?ref=shop_home_feat_2
Pingback: Simple Flower Cookies
how long do icing pieces like this last? should they be put in the freezer?
Pingback: Easy Decorated Strawberry Cookies
Pingback: Celebrate Spring With Decorated Flower Cookies