Decorated Scarecrow Cookies
It’s no secret that I prefer to simplify most of my cookie designs. For this reason, when I plan new projects I lean toward bolder designs like a face rather than a full figure.
In my experience larger scale details are easier to manage and usually there are less colors involved.
I generally stick to the “bigger is better” rule, but when I ran across this guy I knew it was his turn to shine. He’s a little more involved than my other scarecrow cookies but the end result is worth the extra work.
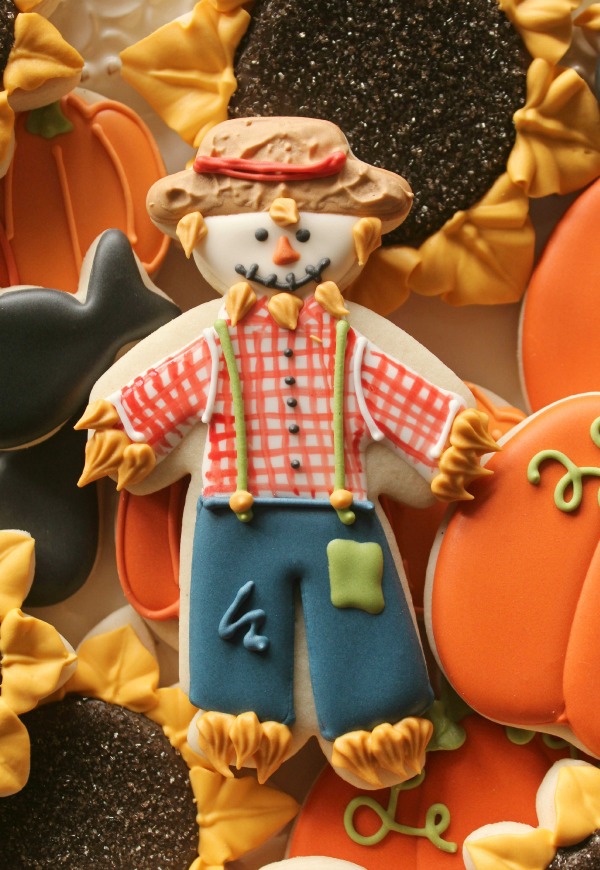 I ordered this cutter from Little Fox Factory. They call him a farmer, but he must’ve looked like a scarecrow when I sorted my cutters because he ended up in the autumn box.
To make these cookies you will need:
- Tan piping and flood icing
- Dark blue piping and flood icing
- Ivory 20-second icing
- White 20-second icing
- A small amount of red, green, gold, and black piping icing for details
- A small amount of orange and green 20-second icing for details
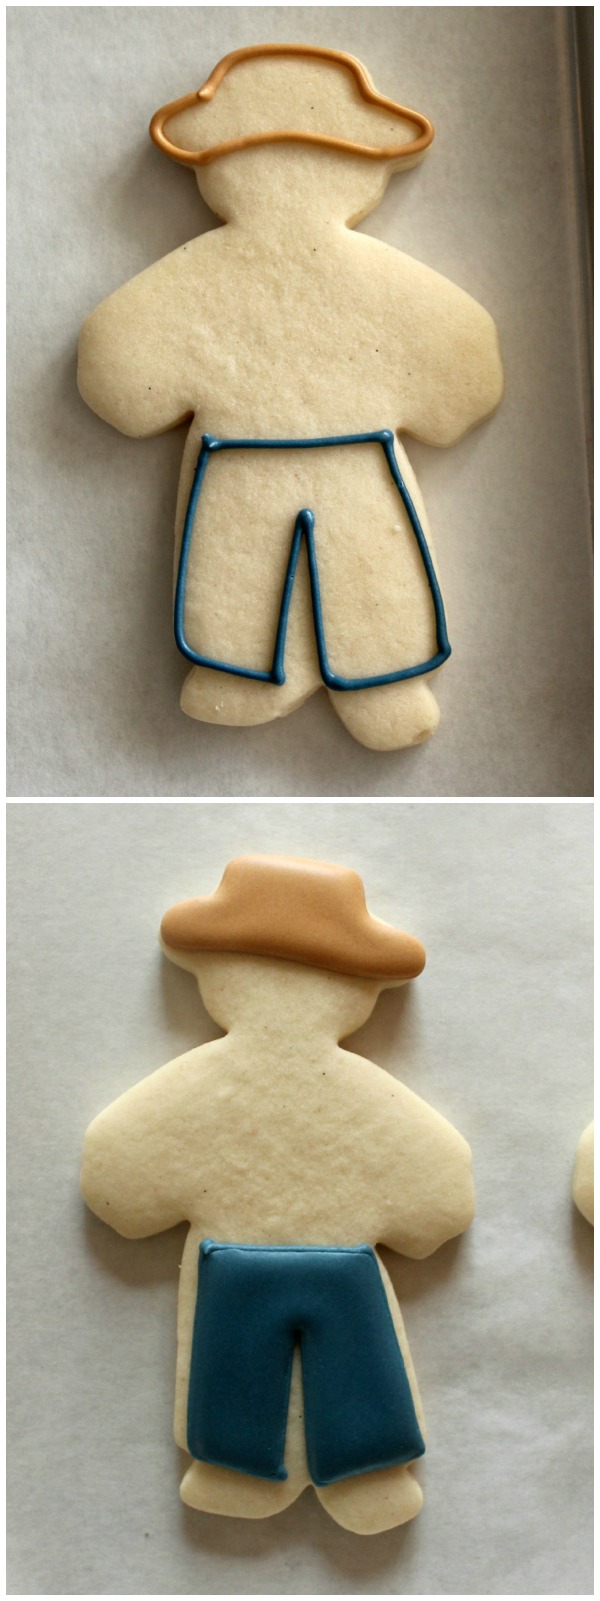
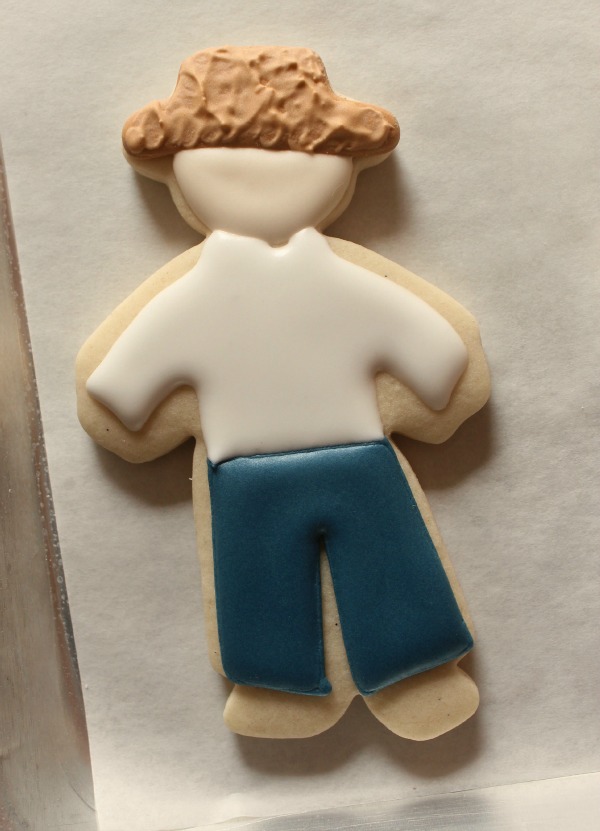
Begin by outlining and filling the hat and pants.
 If you like, add a little texture to the hat. I used a technique similar to the one I talked about here. Start by applying a tiny bit of piping icing to the dried base, then use an offset spatula to spread and lift. This will create a “straw-like” texture.
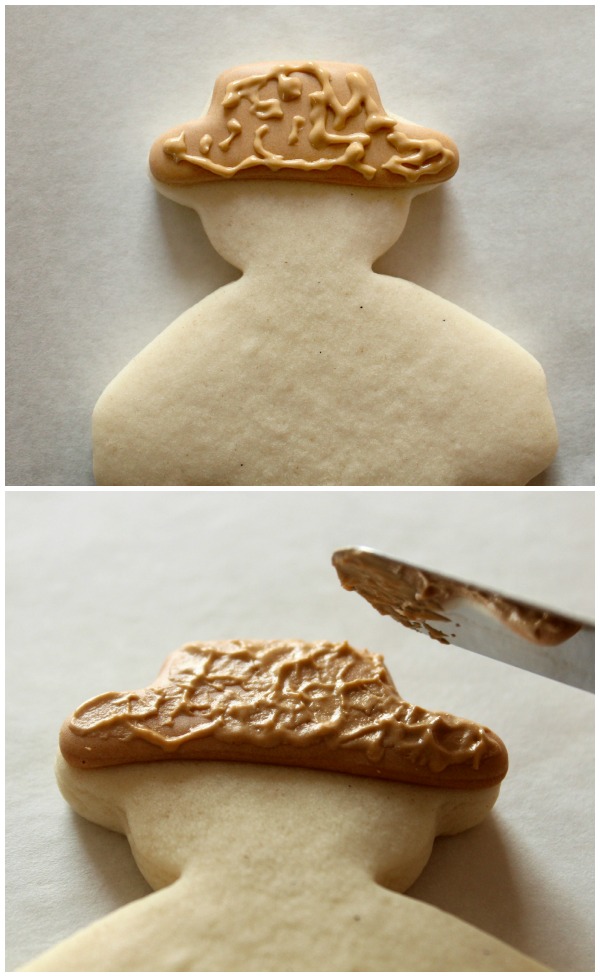 Next, use ivory 20-second icing to add a face.
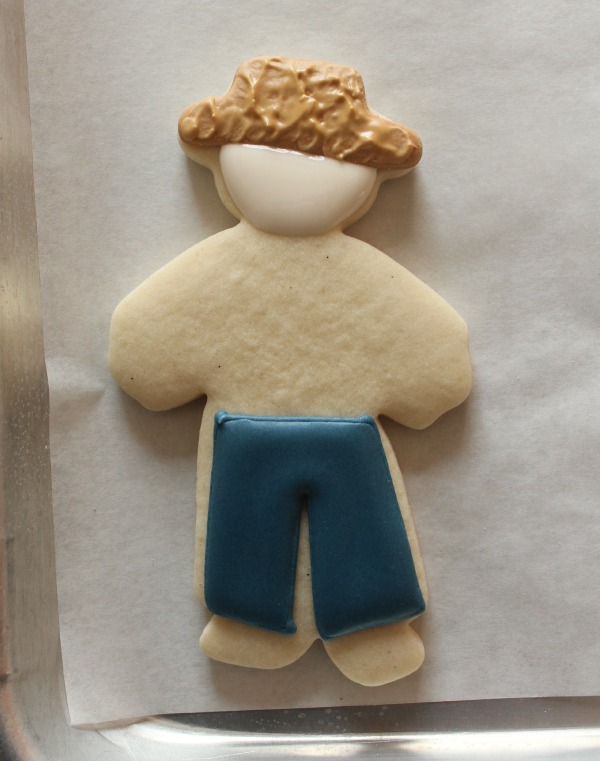 When the face has set, use white 20-second icing to make s shirt. Let dry completely.
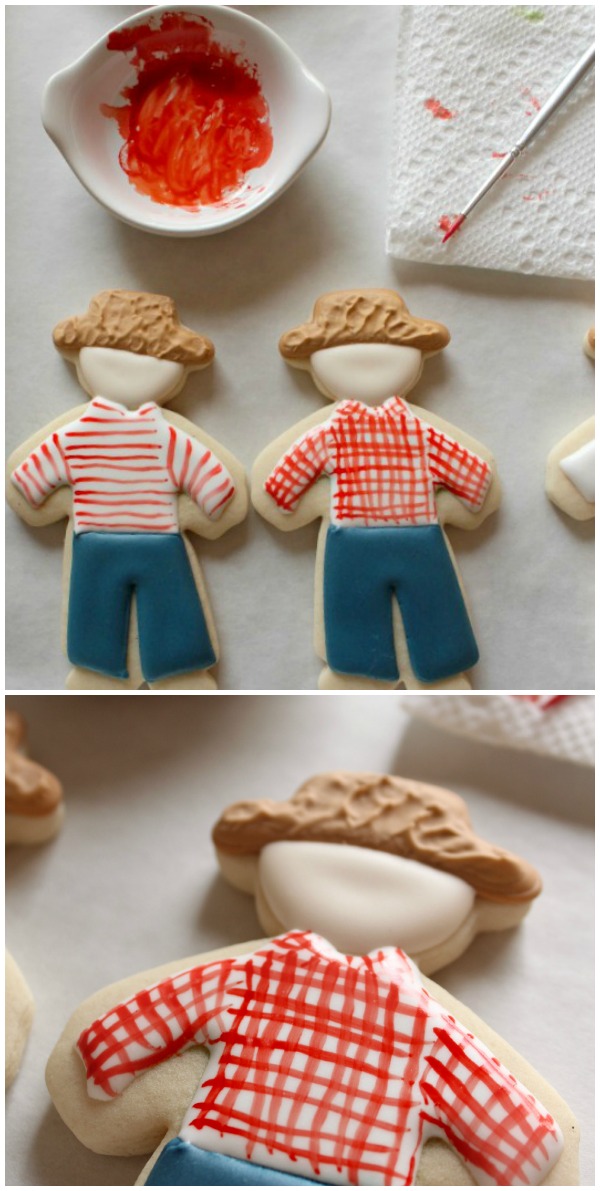
 The original plan was to immediately use red flood icing to add a pattern to the shirt. However, I got to this step right about when my kids came home from school. By the time I remembered what I was working on the shirt had already crusted over. Instead of freaking out, I opted for plan B.
Instead of wet on wet stripe, I tapped into my inner Arty McGoo and painted on a gingham pattern. I’m not quite Arty, of course, but in this case the messy look worked. For more information on painting on cookies, click here.
 To finish up, add the final details. I included a hatband, face, straw, buttons, suspenders, and patch, among other things.
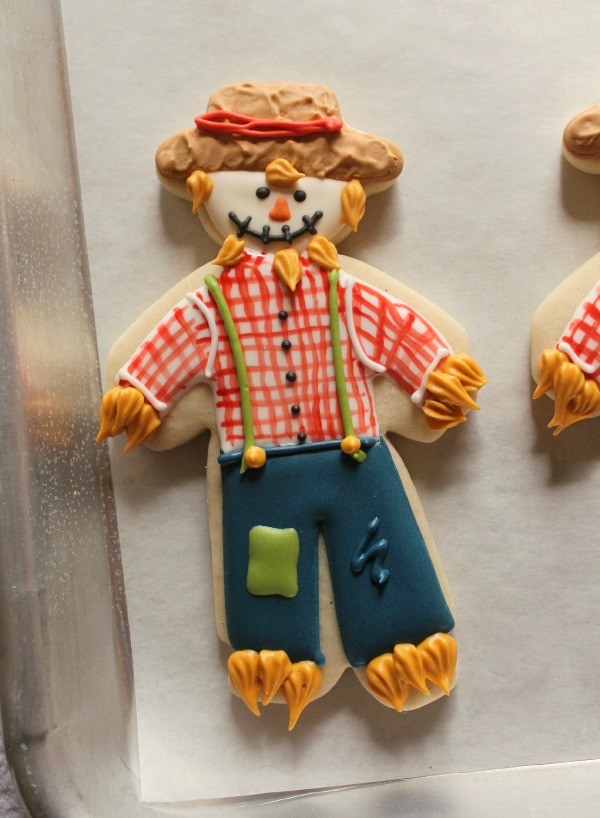 The key to small, detailed cookies is knowing when to stop. I’d explain this a little better, but I still struggle with the concept myself. In hindsight, I’d skip a few details if make these again…but you know what they say about hindsight.
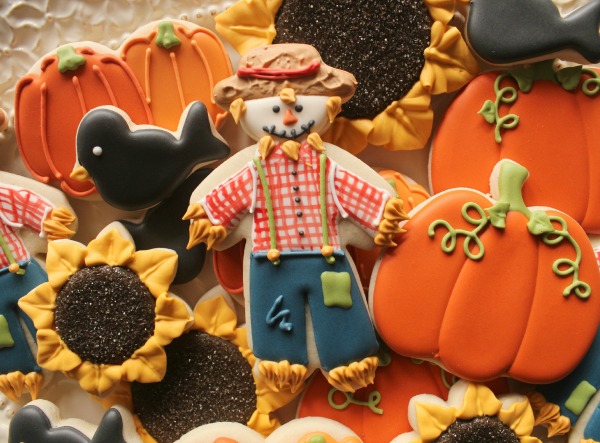 For more autumn-themed cookie designs, check out the links below:


I love it! It looks super cute and I think that it has just the right amount of details 😀
He is adorable!
I love this guy and know just what you mean about knowing when to stop with small details. When I first starting cookie-ing, I went for super simple. Now, I tend to overdo it as I don’t want to stop playing/decorating!
I have been following you for quite a while now (a few years) and finally felt like I should comment to tell you how AMAZING your work is! You are truly talanted and your cookies just keep getting better and better, amazing me each time! P.S., my husband is looking forward to seeing your cookie version of the Griswold family station wagon! Take care!
The cutest little guy ever! I love how use different tips to get your effects and you are VERY ‘arty’, my friend.
Love this little guy! That star tip for the straw is so simple yet so very effective!!
I love the plaid shirts!! These are great!
These are the cutest EVER!
He is adorable and I wouldn’t change a thing!
I love and admire your creativity. Can you remember where your little row came ftom and would you share?. He is simply adorable.
These are so fun! I am so glad fall is here at last!
Mr. Scarecrow is so cute. I wish mine turned out like yours. I don’t like that I can see the outline, am I using too large a tip?
Do you have a You Tube tutorial on decorating?
Thank you!
I have learned so much from your tutorials. I didn’t exactly follow the directions here but made some scarecrows last year that turned out super cute. Of course I didn’t really think they were very good, but I just looked at the photos and they really are adorable. Thanks so much for the inspiration
Theresa