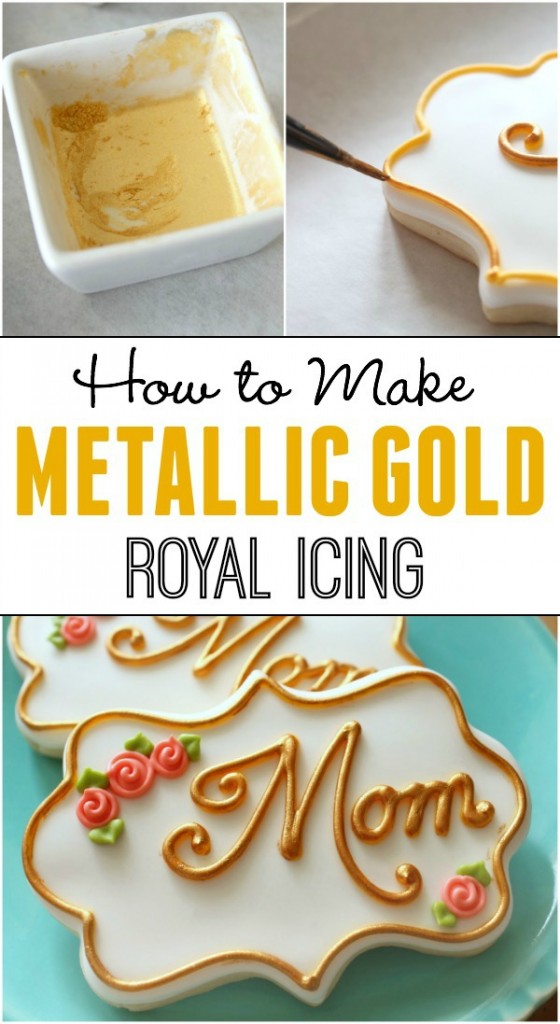
How to Make Gold Icing…and Silver Too!
Lustre dust…sparkly magic powder with the power to give plain royal icing a beautiful metallic sheen.
 Lustre dust comes in tiny little pods like these. At over three dollars for just two grams, it might seem a bit pricey…but trust me a little bit goes a long way.
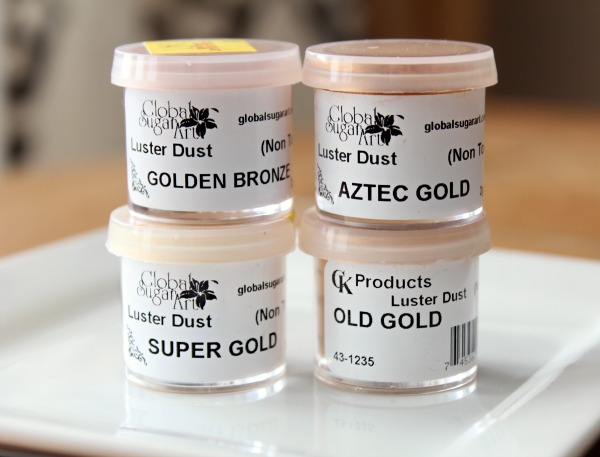 I’ve tried about every goldish color of lustre dust on the market and after experimenting with all of them, I am particularly fond of Golden Bronze, Super Gold, Old Gold, and my all-time fave, Aztec gold .
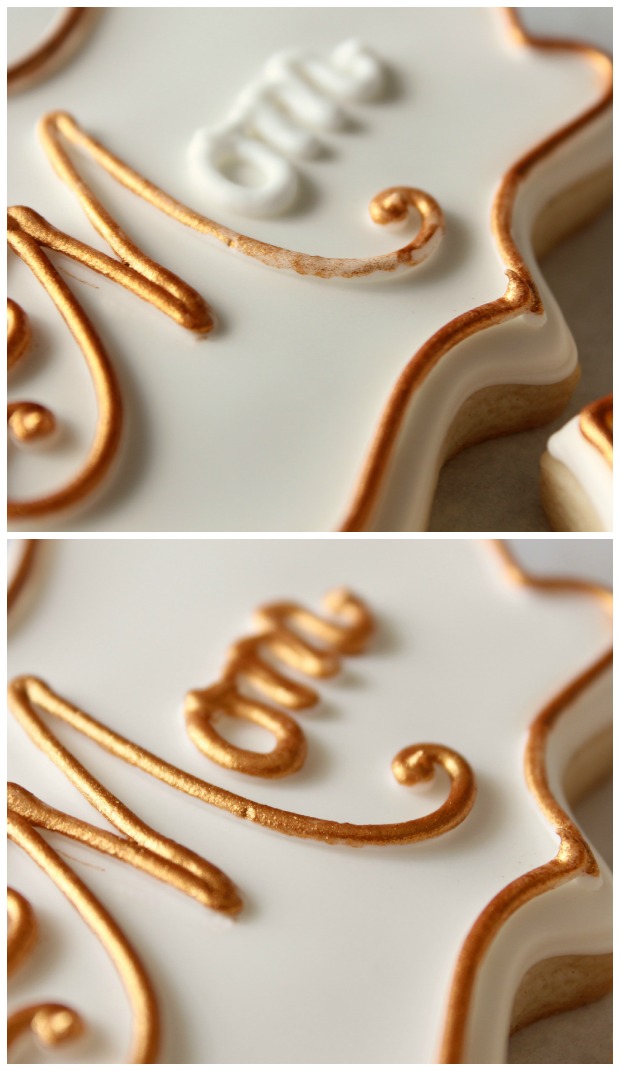
To apply simply mix a small amount of powder with Everclear, vodka, or alcohol-based flavoring and paint on with a brush. Use a smaller brush for more delicate work and a wider brush to cover larger areas.
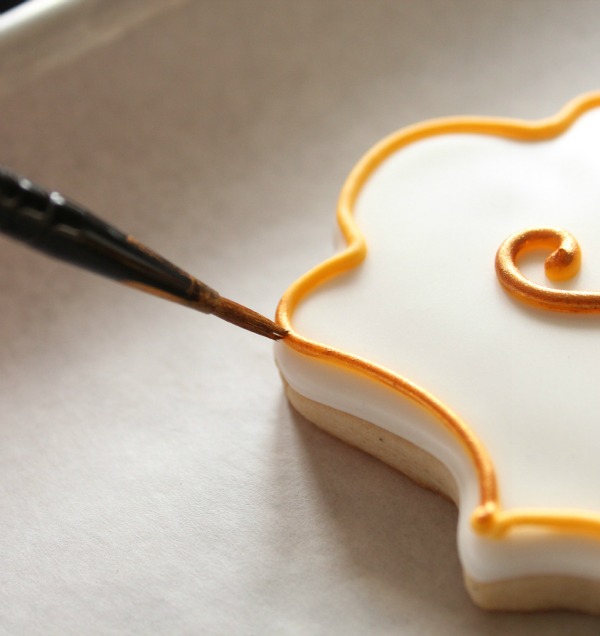 Sometimes it takes more than one coat to get the best coverage.
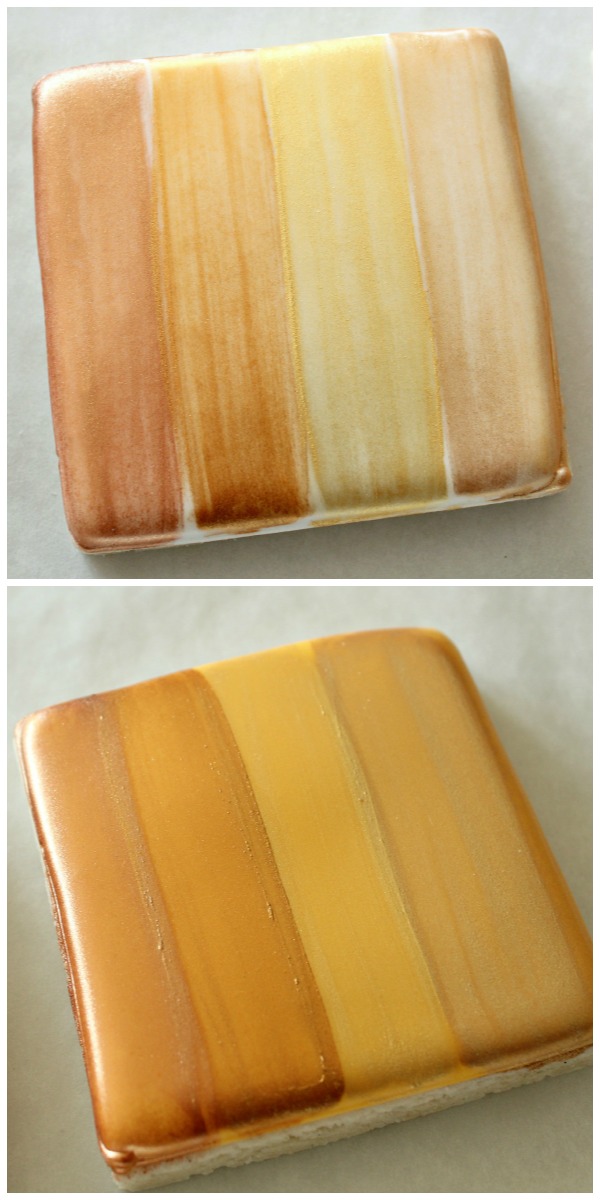
 If you’re still not getting the desired effect, try changing the color of the base icing.. Here are the colors above swatched on a white and yellow base. In my experience, using colored icing under less intense shades seems to give them a little boost. Darker shades provide pretty good coverage no matter what’s underneath.
Left to right: Golden Bronze, Aztec Gold, Super Gold, Old Gold
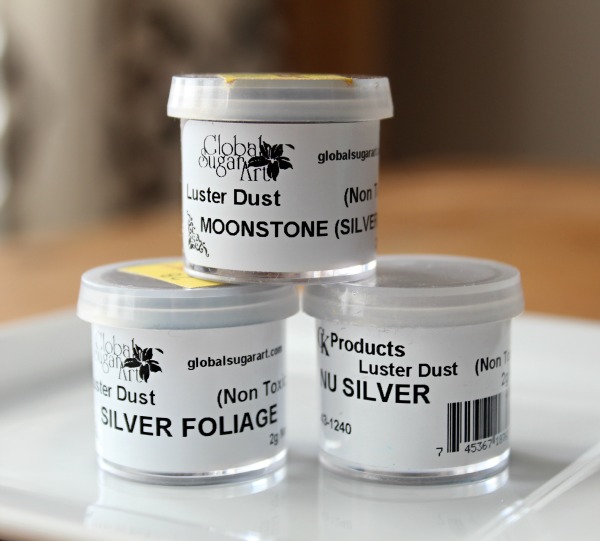
 I have a few favorite silver shades also. Nu silver is a bright, true silver. Silver foliage has a greenish tint and moonstone is almost a pewtery hue.
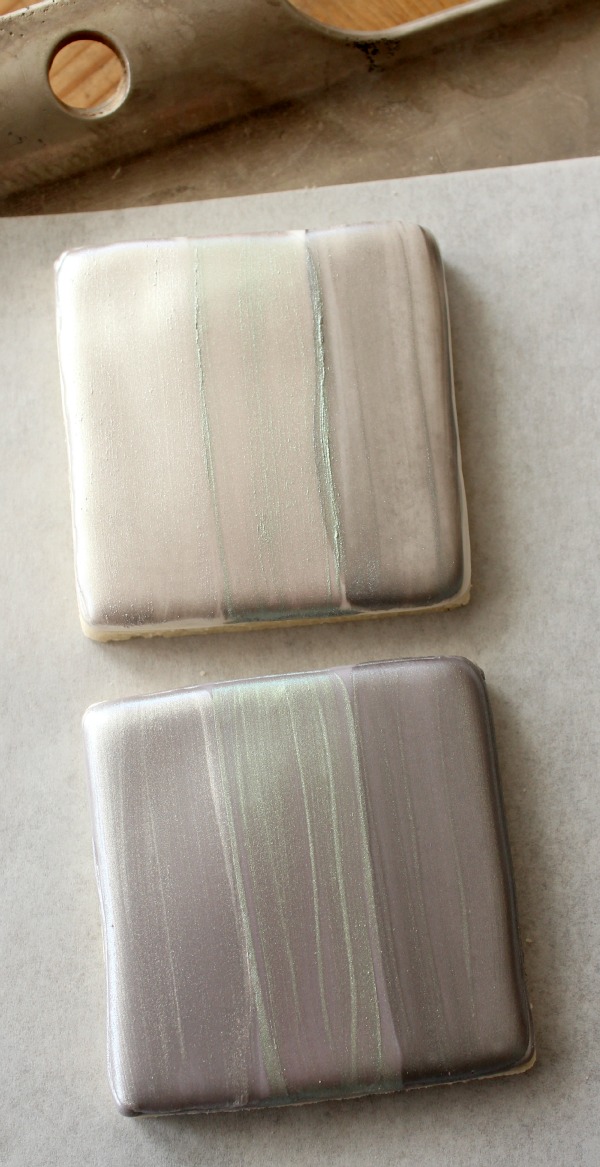
 Because I love y’all, I swatched the silver colors too. The top example is on a white base, while the bottom is on gray.
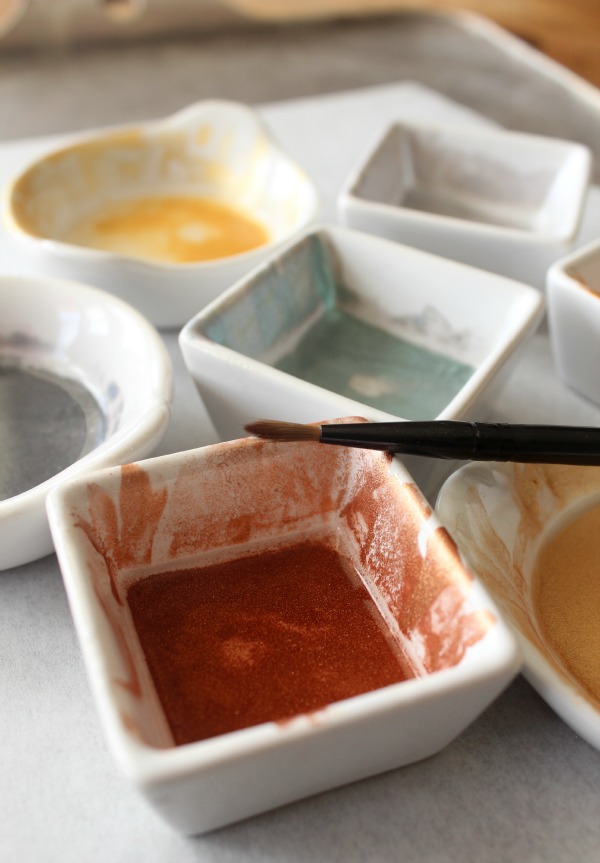
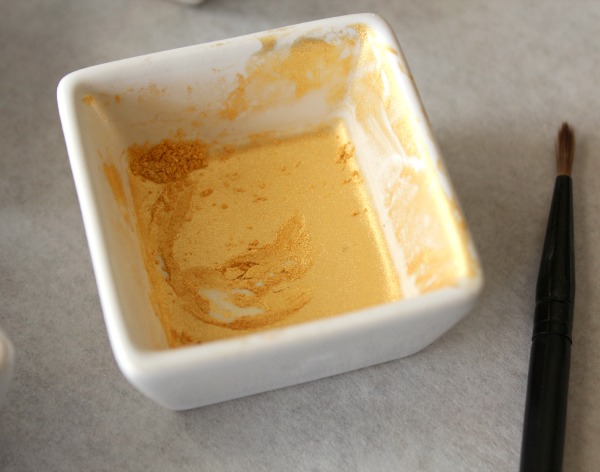
 When I use lustre dust I work out of tiny dishes like these.
Because it’s too expensive to waste I simply leave it out until all of the alcohol has evaporated. When it is dry it looks like this.
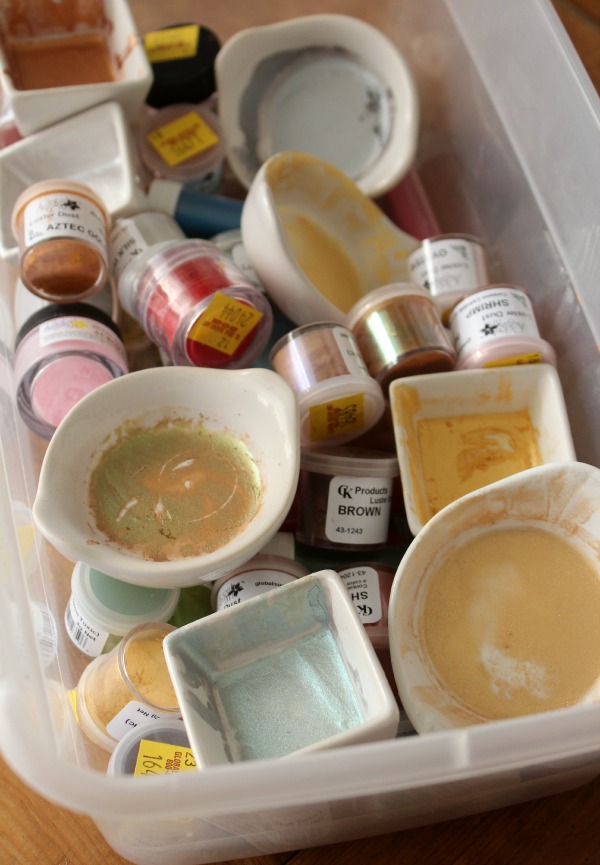
 I keep it in a box with the rest of my colors until I am ready to use it again. I’m sure there’s probably a better way, but if I wasn’t a little disorganized I wouldn’t be me. The point is, you can paint out of the same pot indefinitely. Just add more liquid.
 Oh yes, and for those of you wondering how I paint so perfectly, here’s my secret. I DON’T! At the risk of embarrassing myself I pointed out every single boo boo I could see.
Since I knew I was going to show off my sloppiness, I was especially careful, co consider this the neat version.
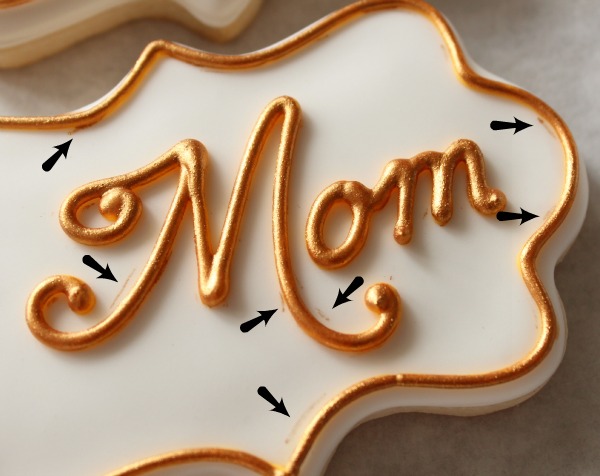 The moral of the story? We’re always much more critical of our own work. Chances are your “huge mistake” probably won’t be noticed by anyone else. If you make a huge goof, eat it, put it on the bottom of the pile, or cover it with a flower or something.
If you plan on covering a large surface area it is probably best to use an airbrush or color mist spray. You can read about that and more HERE.
If you want to learn more about lustre dust check out these helpful links:
- Make Your Cookies Shine {this includes explanations on dry application and aerosol mists}
- More Ways to Make Gold Royal Icing via Baking In Heels
- {Video} How to Apply Lustre Dust via Bake at 350
- Hand-painted Valentine’s Day Cookies via Glorious Treats
If you’d like to buy lustre dust Country Kitchen Sweet Art and Global Sugar Art both have great selections. They also carry lustre spray which I mentioned before HERE.
*Keep in mind that although these dusts are non-toxic, they are for decorative use only and should not be considered a food product. In other words, they probably wont kill you, but it’s probably not smart to eat a pod of lustre dust. Opinions on the matter vary. My advice is to use at your discretion. If baking for the public, check with your client before decorating just to be sure. You might also try FDA approved platinum dusts. The colors are limited, but they can often be used in place of lustre dust to achieve the same effect.
*Alcohol based products are the best way to apply lustre dust. Even flavoring extracts have alcohol in them. If this is not an option for you, I suggest bypassing wet application altogether. Water does not work.
