Creating a Ruched Effect with Royal Icing
Since the day I came across this gorgeoumous cake on Half Baked I’ve been kind of in love with the ruched look. But being that I’m not too adept with fondant I had to find a way to get the same effect with royal icing.
I first tried ruched icing last summer when I was going though my ribbon rose phase and I liked it so much that I thought it deserved a repeat for Christmas.
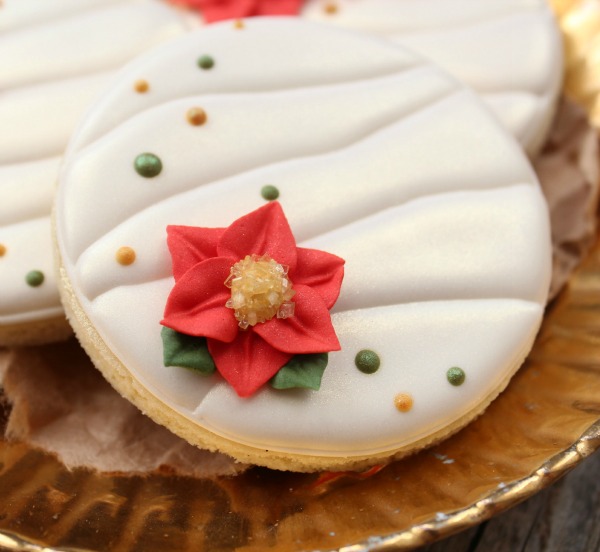
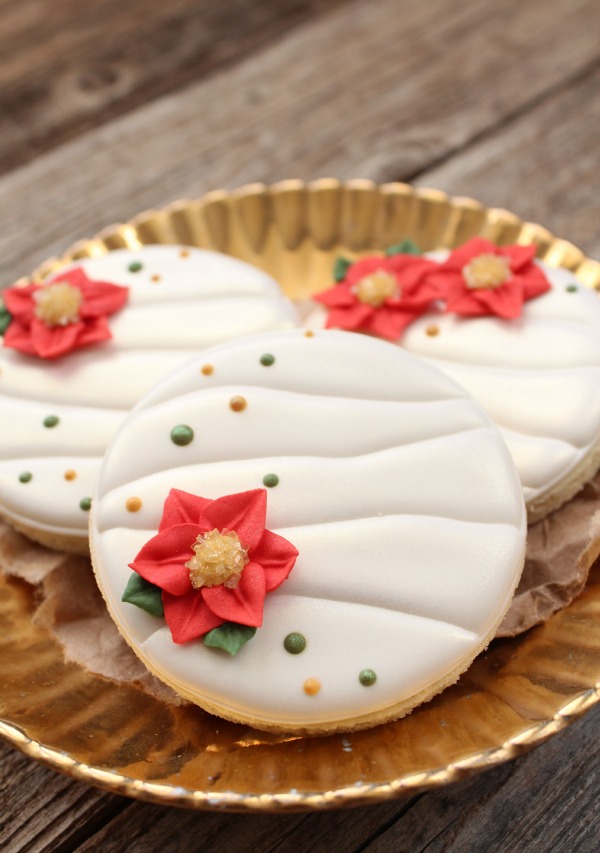
Creating ruched royal icing is not difficult. The most important part of the process is patience. I outlined the cookies and used thinner flood icing {10-15 seconds} so that the layers were more flat than “poofy” Each layer of icing needs about twenty or thirty minutes of drying time before moving on. If you’re not so good with the patience thing, use a fan to speed up the drying process.
It’s all about creating dimension. See the progression?
In this case, I went across the cookie, but if you’re going for the “gathered” look {like on the cake} start with a wider section of icing and taper up toward the edge thinning the pleat as you work toward the edge of the cookie.
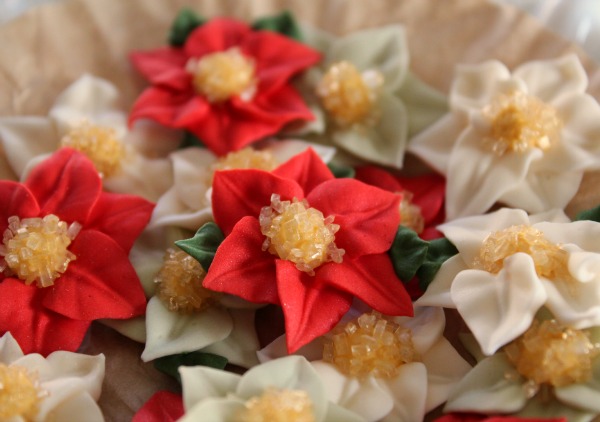
I happened to have several royal icing poinsettias on hand which I thought would be the perfect touch.
To finish up, I added a few dots of gold and green icing. If you’re wondering how I made them shiny and metallic, click HERE.
The next time you’re on the lookout for an easy and elegant cookie idea, try this technique. Also, don’t forget to check out the Twelve Days of Christmas cookie project.
Happy holidays my cookie friends!


wow, that technique is gorgeous, and you make it look so simple… even I could do it! thank you!
Wow! Callye that are stunning! Perfection!
those are so pretty!
Been looking for something easy but still impressive for our work Christmas party. Found it! Yay! Thanks
Gorgeous, Callye! What a pretty effect 🙂
Such a great technique and the cookies looks so pretty 🙂
These are so so pretty! I love the poinsettias too! Gorgeous!
I JUST HAVE TO SAY THAT I LOVE YOUR WEB SITE. YOU EXPLAIN EVERYTHING TO OTHERS WITH GREAT DEAL. Thank you so very much. I also love your sugar cookies, the recipe is the best that I have tried. Thanks again.
Stunning & elegant!
THANK YOU!!!!!!!!! Brilliant idea!!!
Regards
Sophie, Down Under.
What a beautiful background to display your wonderful little poinsettias on!
great idea!
I really love visiting your blog to see all your lovely cookies creations, thanks for sharing. I love your ideas, they inspire me 🙂
So gorgeous – another cookie that makes me want to change my frosting! 🙂
these are very cool! simple and so elegant!
Lovely cookies!
So. Wanna come over and make me some of these that can be kept forever and ever and hung on my tree as ornaments? Pretty please??
Pingback: Royal Icing Poinsettias
I just love the great ideas!
How did you attach the flowers? Just royal icing on the back of them?
Yes, just a tiny dot.
Thank you!! Love these!
I am now obsessed with you! I LOVE your site – have been sharing it with everyone! I’ve learned so much, Thank you.
I made one i could trace and cut. It was of a elf head, shirt, and pants with the boots attached. I made it so i could make a elf the kids could put together
your cookie are beautiful. You do a wonderful job. I get up every morning and check to see if u posted something new. Thanks for sharing
Did you spray the entire cookie or just paint luster dust on the dots?
these are so adorable and look easy to make, i am going to try to do them for christmas. thank you for sharing this with us 🙂
and i was wondering if we could speed up the waiting/drying process by adding two layers at a time? since there are five layers i guess it could be done like this: add top and bottom layer, wait. add second and forth layer, wait. add middle layer.
this way instead of waiting 4 times for individual layers to dry, you wait two times.
what do you think?
Just wondering at what point you added the poinsettias….. Did you add when white icing was still a bit wet? Or attach later? And if so… How?