Anthropologie Inspired Easter Cookies
I recently had the opportunity work on an Easter project with the amazingly talented Sandra Downie, event planner, and author of the blog, The White Library. My assignment was an Anthropologie inspired dessert table. How exciting! Who doesn’t LOVE Anthropologie?!
I was very eager to get to work because it gave me the perfect opportunity to work on some Easter designs that I’ve had locked away in my head since last year. Looking at the storyboard, I instantly knew that they would be perfect!
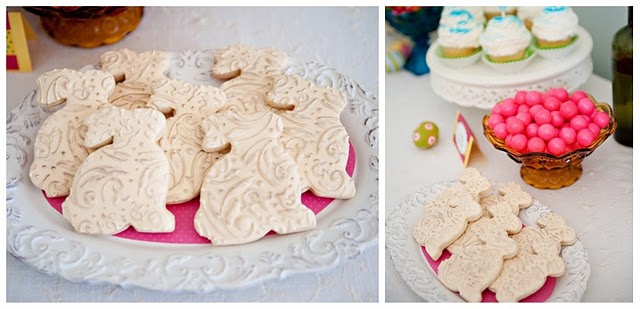
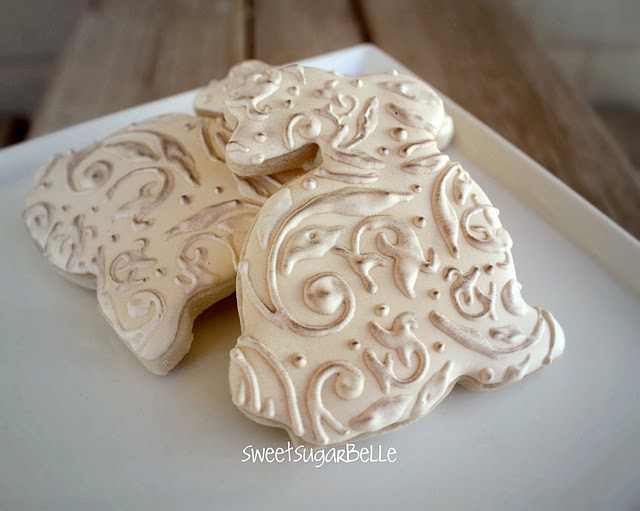
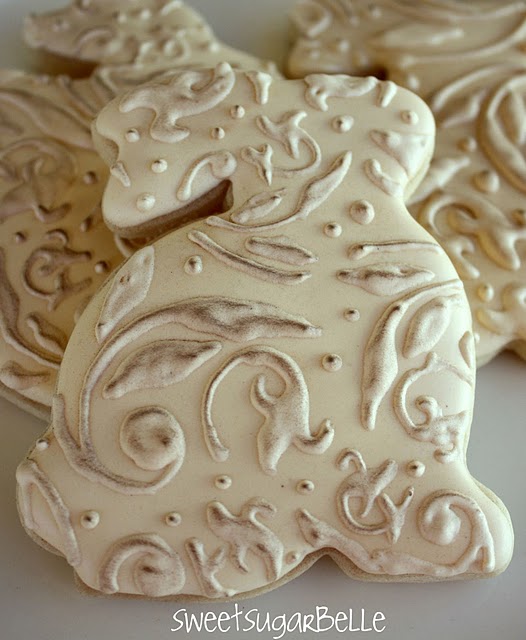
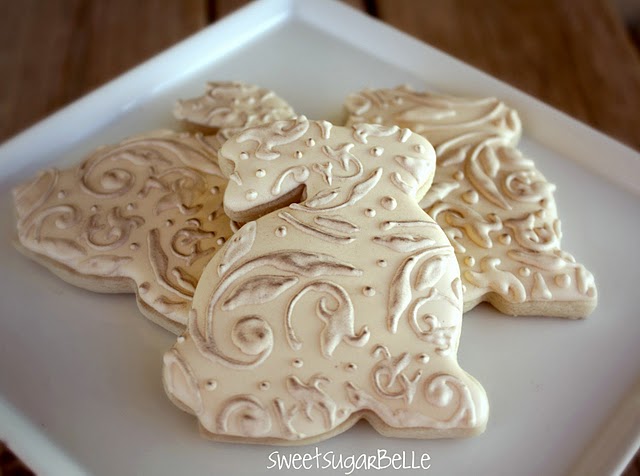
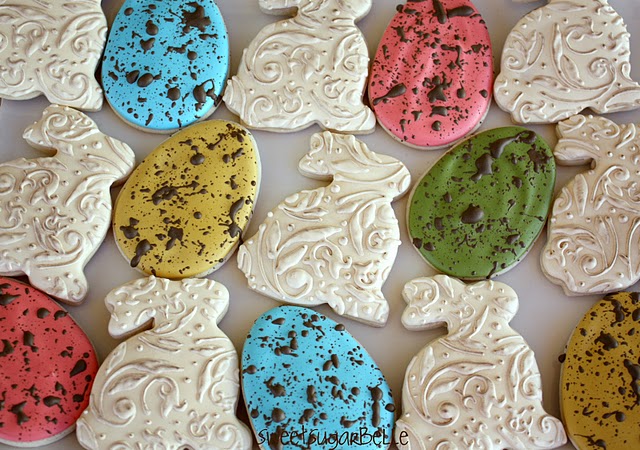
These are the cookies that I made for the project. I was going for a shabby chic, rustic look…something similar to the finish of antique metal garden ornaments.
If you’d like to see the whole spread, head on over to Sandra’s blog, The White Library, to see her {Anthropology Inspired Easter Dessert Table}
As for the cookies, I bet you are wondering how I got the rustic finish.
True to form, it was in the most unconventional way. I made my own dirt!
?
Please don’t laugh too much if you can help it. I actually got the idea from my little boy.
One day, I caught him {I still call him Tatters, even though he’s way too old for that} coming in from yet another digging expedition in our backyard. I noticed that his feet were covered with a crust of dried mud, and I was trying to keep it off of my light carpet. It’s really pretty gross if you think about it, but it was like a light bulb clicked on in my head.
Now, before we go any further, I’d like to add a little disclaimer. You can certainly get this effect with lustre dust. Brown, mahogany, and Spanish moss, maybe mixed I suppose… However, I live in a pretty rural place, and I didn’t have time or the desire to pay eight dollars to ship a tiny little pot of shimmer to my door. So, I decided to make it instead.
To do this, I spread some leftover dark brown icing from another project onto a sheet of waxed paper two days before I knew I would need it. I let it dry thouroughly. Then, I broke it up into smaller pieces on the paper.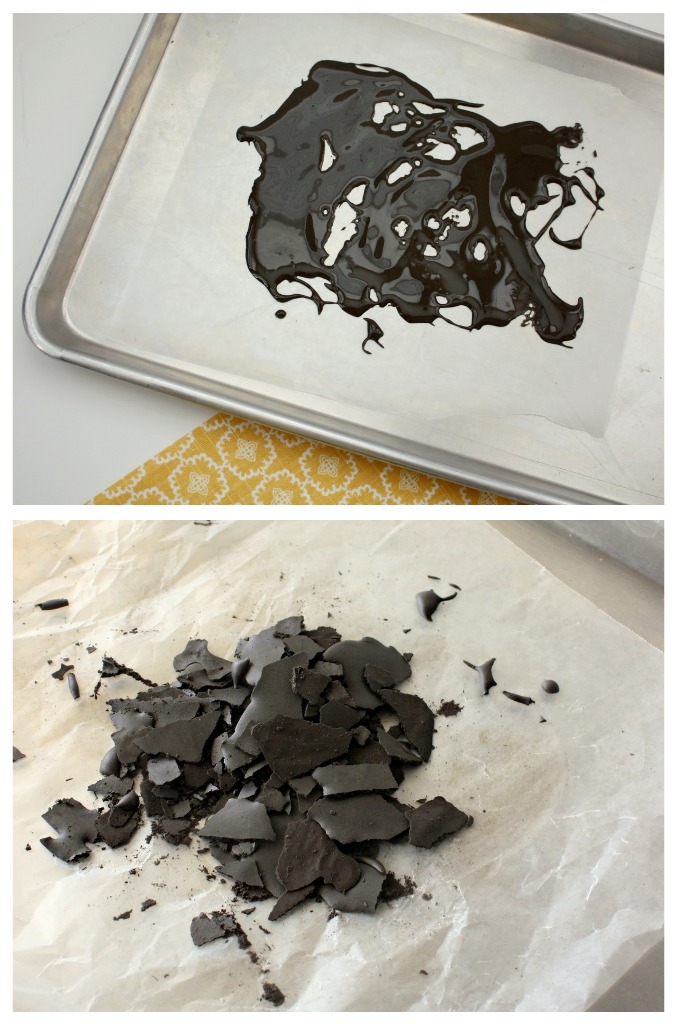

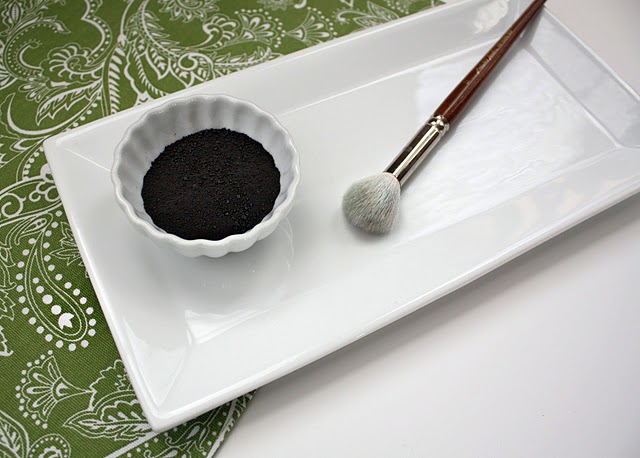
I then used a mini-processor to pulverize it into a fine powder. {I completely forgot to take a picture, but you get the idea}
See? I totally made DIRT!
To “age” my cookies, I took a bunny that I had flooded in ivory and covered with a raised vine pattern, and dusted them with royal icing “dirt”. If you look closely, you can actually see it very well.? {I copied the vine pattern from a card that I found in the dollar bin. It did it freehand since I was going for a rustic look and it didn’t have to be perfect}
In some places, I couldn’t get as intense of a color as I wanted, so, to make it a little more dramatic, I used a little sponge to apply my powder.
?
It really worked beautifully, and I got a one-of-a-kind look.
?
Now, in the future, you can be sure that I will be ordering all three brownish shades of lustre dust. However, in a pinch, making royal icing dirt worked for me! I hope it will work for you too =)



These are my favorite!! Brilliant!
Pingback: Paashaas! (ouwe koek?!?) [recept] | Taartjes en Tasjes
I just had to tell you how BEAUTIFUL these are!! You inspire me to learn more!! I love love love making cookies and my next want is to learn to decorate cut outs and by looking at what incredile things you do I want to learn more now then ever!! Thank you !!
Pingback: Shabby Chic Cookies
This blog is beautiful, you are a born artist and teacher!!
Love, love, love these! Where oh where did you find the bunny cutter? I have a few but nothing like this one – I love it!
Hello,,,this cookies are beautiful. When did you apply the lustre dust ?
I love your blog, thank you !!
Pingback: How to Decorate Cherry Pie Cookies | Sweetopia
Pingback: COOKIES - suziemaus | Pearltrees
So beautiful…and unique..l..they are such a great reminder of spring.